 Save to Pinterest
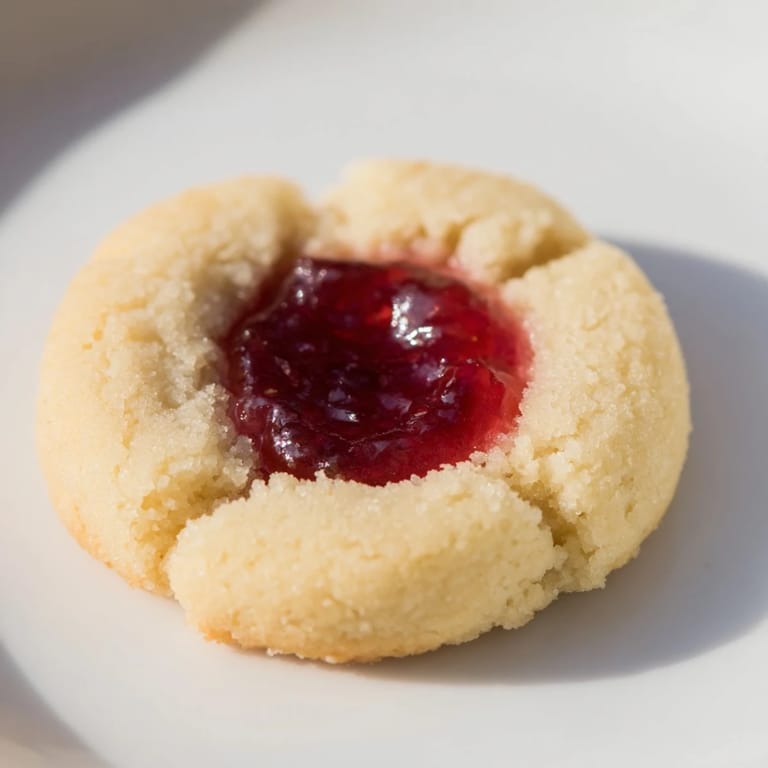
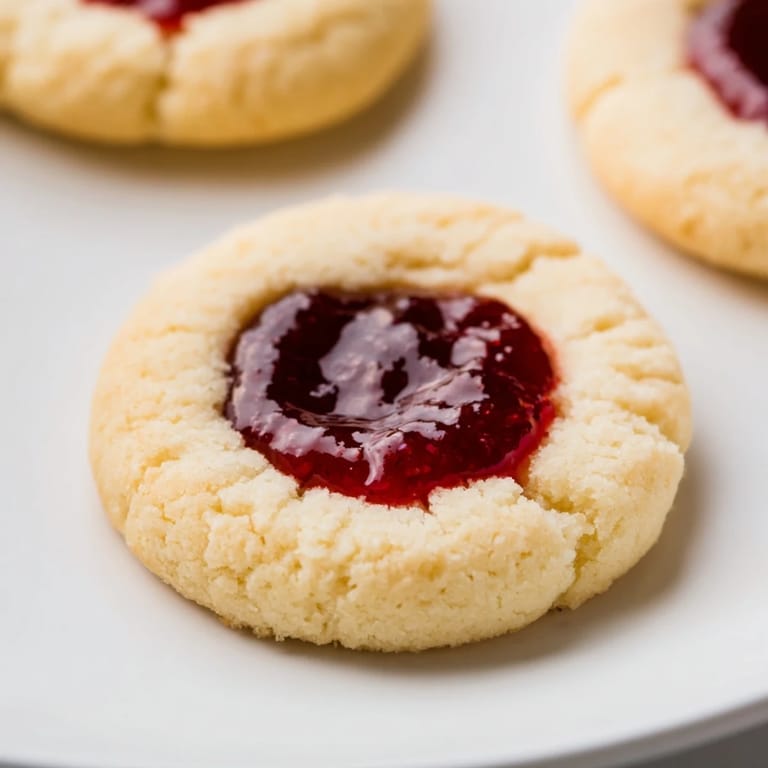
 There's something about thumbprint cookies that stopped me in my tracks the first time I watched my grandmother press jam into warm dough. I was maybe seven, standing on a stool in her kitchen, and she handed me the wooden spoon handle to make the indent. My thumbs were too clumsy, so she let me use hers, and I remember the butter under her fingers and how the jam caught the afternoon light coming through the window. Years later, I finally made these on my own, and that same feeling came rushing back—the quiet satisfaction of something so simple done with intention.
I brought these to a coworker's birthday last spring, still warm from cooling, stacked in a tin I'd lined with parchment. She took a bite and closed her eyes, and for a moment the whole office just disappeared. She told me later they reminded her of her mom's kitchen, which is the highest compliment I've ever received for something I baked. That's when I realized these cookies aren't really about skill—they're about the memory you bake into them.
Ingredients
- Unsalted butter, softened: The foundation of everything tender here; softening it at room temperature for 30 minutes makes creaming effortless and gives you that light, fluffy base that matters more than you'd think.
- Granulated sugar: This isn't the time to swap types; regular sugar creams with butter perfectly and dissolves into the dough without graininess.
- Egg yolks: Just the yolks keep these cookies rich and short without becoming dense, and they hold everything together without added moisture.
- Vanilla extract: Use real vanilla if you can; the difference shows up in flavor more than you'd expect from such a small amount.
- All-purpose flour: Measure by weight if you have a scale—it removes the guessing game that causes dry cookies.
- Fine sea salt: A small pinch makes the sweetness sing and balances the richness beautifully.
- Fruit jam or preserves: The star of the show; pick flavors you actually want to eat, since there's nowhere to hide.
Tired of Takeout? 🥡
Get 10 meals you can make faster than delivery arrives. Seriously.
One email. No spam. Unsubscribe anytime.
Instructions
- Get your space ready:
- Preheat to 350°F and line your sheets with parchment while the oven warms. Having everything in place means you can move through the next steps without second-guessing.
- Cream butter and sugar:
- Beat them together for 2 to 3 minutes until it's pale and fluffy, almost cloud-like. This is where you're incorporating tiny air bubbles that make the cookies tender rather than dense.
- Add the yolks and vanilla:
- Mix until you don't see any streaks of yolk anymore. The mixture should look silky and slightly lighter than before.
- Bring the dough together:
- Fold in the flour and salt gently, stirring just until the dough pulls away from the bowl. Overworking develops gluten, which turns cookies tough instead of tender.
- Shape and indent:
- Roll teaspoons of dough between your palms into balls about the size of walnuts, then use your thumb or the back of a small spoon to press a small well into the center of each. This indentation is everything—too shallow and the jam rolls off, too deep and the dough breaks.
- Fill with jam:
- Drop roughly 1/2 teaspoon of jam into each indent. A little goes a long way, and overfilling causes it to bubble out during baking.
- Bake until edges turn golden:
- This takes 12 to 15 minutes depending on your oven's personality. You want the edges burnished and the centers still pale—they'll continue cooking slightly after you pull them out.
- Cool with patience:
- Let them sit on the sheet for 5 minutes to set slightly, then move to a rack so steam doesn't make them soggy on the bottom. This short wait changes everything.
 Save to Pinterest
 There's a moment right when they come out of the oven where the jam is still molten and the cookie is fragile, and if you're quiet enough you can almost hear them crackling as they cool. It's the best time to steal one, when no one's looking and it's still warm enough to burn your fingers. Those first moments taste like the whole kitchen belongs to you.
The Jam Matters More Than You Think
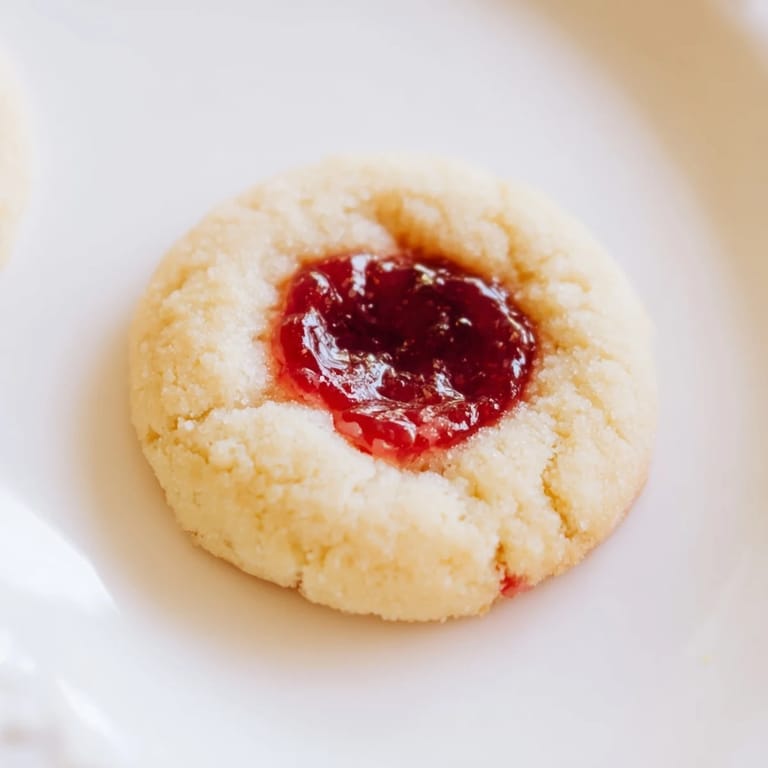
I spent years using whatever jam was on sale until I realized that the quality of your filling is half the cookie. Seek out preserves that are thick and jammy, not runny syrup, and pick flavors that actually speak to you. Raspberry and apricot are classics for a reason, but strawberry is bright and fresh if you're sick of the same thing. I've even used homemade jam from the farmer's market, and those cookies tasted like summer in December.
Why the Butter Needs to Be Soft
Cold butter and sugar won't cream together smoothly, no matter how hard you beat them. You end up with grainy dough that bakes into cookies that feel sandy instead of tender. I learned this the hard way one winter when I tried to rush the process, and the cookies came out like little shortbread hockey pucks. Now I pull butter out of the fridge 30 minutes before I start, and the difference is immediate—the mixer does the work instead of you fighting it.
Storage and Staying Fresh
These keep beautifully in an airtight container, actually tasting better on day two or three after the flavors settle and the texture becomes more tender. I've eaten them for up to a week without any real change, though they rarely last that long in my house.
- Stack them between parchment layers so the jam doesn't stick to the next cookie.
- Keep them away from humid spots on your counter; a dry cupboard is your friend.
- These freeze beautifully for up to three months if you're thinking ahead.
 Save to Pinterest
 These cookies ask so little of you and give back so much—a quiet, buttery moment that tastes like someone cared enough to make them. Pass them around and watch what happens.
Recipe Help Center
- → What type of jam works best for the filling?
Fruit jams like raspberry, apricot, or strawberry are excellent choices that complement the buttery dough with sweet and tangy flavors.
- → How do I prevent the dough from sticking to my hands?
Chilling the dough briefly before shaping or lightly flouring your hands can help prevent sticking while rolling the dough into balls.
- → Can I add nuts to these cookies?
Yes, rolling the dough balls in finely chopped nuts before baking adds a pleasant crunch and extra flavor.
- → What is the ideal baking time for these cookies?
Bake for 12 to 15 minutes until the edges turn just golden, ensuring a tender but fully cooked texture.
- → How should I store these cookies to maintain freshness?
Store in an airtight container at room temperature for up to one week to keep their texture and flavor fresh.