 Save to Pinterest
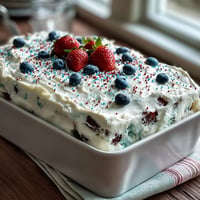
 My sister showed up at my door one Saturday with a grocery bag full of Oreos and a block of cream cheese, announcing we were making truffles whether I had plans or not. I didn't even own a food processor back then, so we crushed those cookies in a plastic bag with a rolling pin, laughing every time crumbs escaped onto the counter. The pink candy melts were her idea, a nod to her daughter's upcoming birthday party. What started as a favor turned into one of those kitchen afternoons I still think about whenever I need something sweet and ridiculously easy.
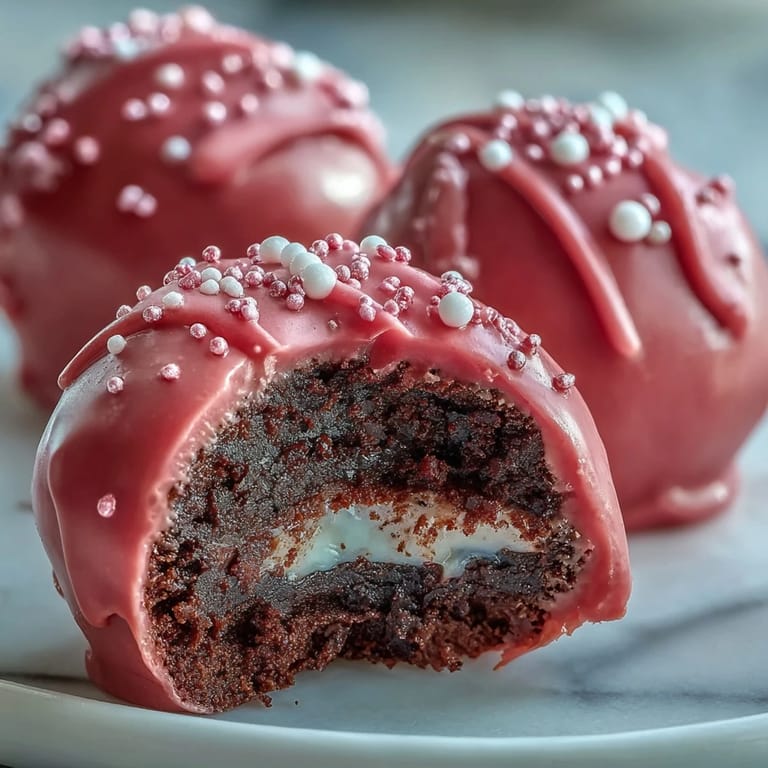
I brought a tray of these to a potluck once, and they disappeared before the main course even hit the table. A coworker asked if I'd ordered them from a boutique chocolatier, and I had to bite back a grin because the whole batch cost me maybe eight dollars. Kids love rolling the truffle balls, which makes this a solid rainy day project if you don't mind a little mess. The pink coating always gets compliments, but I've made them in green for St. Patrick's Day and pastel yellow for Easter with equal success.
Ingredients
- Oreo cookies: Use the whole cookie, filling and all, for that signature cookies and cream flavor that holds together beautifully once mixed with cream cheese.
- Cream cheese: Let it sit on the counter for at least 30 minutes so it blends smoothly without lumps, or you'll be fighting clumps in your truffle base.
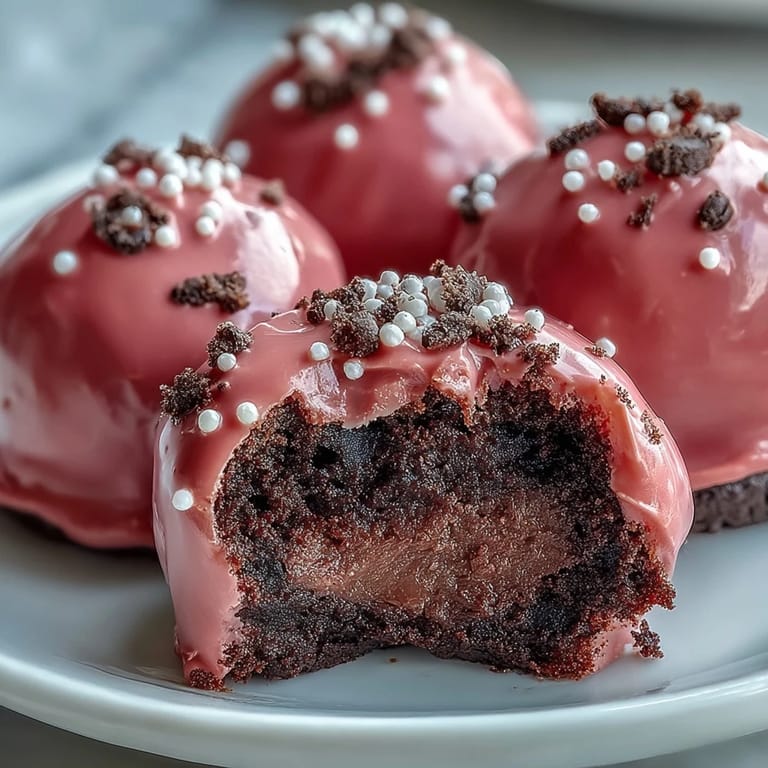
- Pink candy melts: These harden into a glossy shell that snaps cleanly when you bite in, and they come in every color imaginable if pink isn't your thing.
- Vegetable shortening: A tiny spoonful thins out the candy coating just enough to make dipping easier and give you that professional looking finish.
- Sprinkles or edible pearls: Completely optional, but they add a pop of texture and make the truffles look like you spent way more time than you actually did.
Tired of Takeout? 🥡
Get 10 meals you can make faster than delivery arrives. Seriously.
One email. No spam. Unsubscribe anytime.
Instructions
- Crush the Oreos:
- Blitz the cookies in a food processor until they look like dark sandy crumbs, or seal them in a zip-top bag and go to town with a rolling pin if you need to work out some stress. Either way, you want fine crumbs with no big chunks left behind.
- Mix the truffle base:
- Dump those crumbs into a bowl with the softened cream cheese and stir with a sturdy spatula until the whole thing turns into a uniform chocolatey dough. It should hold together when you pinch it, not crumble apart.
- Shape the truffles:
- Scoop out about a tablespoon of the mixture and roll it between your palms into a smooth ball, then set it on a parchment lined baking sheet. Repeat until you've used up all the dough, wiping your hands on a damp towel as needed to keep them from getting too sticky.
- Chill until firm:
- Pop the tray in the fridge for 30 minutes or the freezer for 15 minutes so the truffles firm up enough to survive the dipping process without falling apart. Cold truffles also help the candy coating set faster.
- Melt the candy coating:
- Microwave the pink candy melts in a bowl at medium power in 30 second bursts, stirring between each round until they're completely smooth and glossy. Stir in the vegetable shortening if you want an even silkier coating that's easier to work with.
- Dip the truffles:
- Use a fork to lower each chilled truffle into the melted candy, roll it to coat completely, then lift it out and tap the fork gently on the edge of the bowl to shake off any extra coating. Slide it back onto the parchment lined tray and move on to the next one.
- Decorate while wet:
- If you're using sprinkles or pearls, add them right away while the candy shell is still liquid so they stick. Once the coating sets, decorations won't adhere without a dab of extra melted candy as glue.
- Let the coating harden:
- Leave the truffles at room temperature until the candy shell feels dry and firm to the touch, or speed things up by chilling them in the fridge for 10 to 15 minutes. Once set, they're ready to eat or store.
- Store and serve:
- Keep the finished truffles in an airtight container in the refrigerator for up to a week. Serve them cold for the best contrast between the creamy center and the snappy shell.
 Save to Pinterest
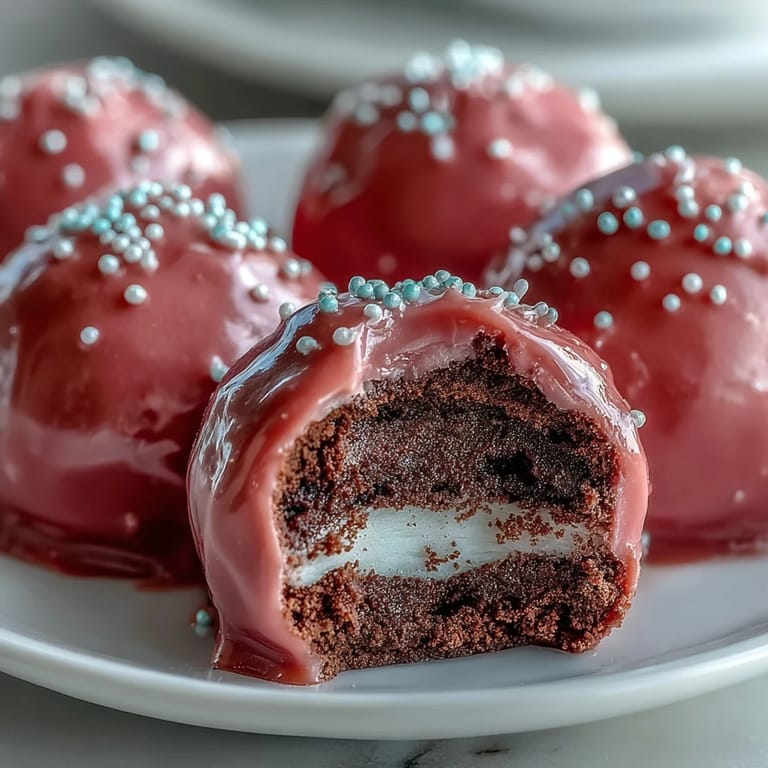
 My niece turned seven the year we made these for her party, and she insisted on arranging them on a tiered stand like they were precious jewels. Watching her show them off to her friends with that proud grin made all the sticky fingers and candy melt spills worth it. Now every time I make a batch, I think about how something so simple can feel like a big deal when you share it with people who matter.
Choosing Your Candy Coating
Pink candy melts are the classic choice, but I've experimented with white chocolate tinted with oil based food coloring and it works just as well if you can't find the pre colored melts. The key is using oil based coloring, not the water based kind, because even a drop of water will ruin the texture of melted candy. I learned that the hard way when I grabbed the wrong bottle and watched my coating turn into a clumpy mess. If you want a two tone effect, dip half the truffle in one color, let it set, then dip the other half in a contrasting shade for a fun striped look.
Make Ahead and Storage Tips
These truffles actually taste better after sitting in the fridge overnight, because the flavors meld together and the texture gets even creamier. I usually make them a day or two before I need them, which also spreads out the work and keeps me from feeling rushed. If you want to freeze them, coat the truffle balls and let them set completely, then pack them in a freezer safe container with parchment between the layers. They'll keep for up to three months, and you can thaw them in the fridge whenever a craving hits or unexpected guests show up.
Fun Variations to Try
Once you've nailed the basic recipe, it's easy to get creative with mix ins and coatings. I've stirred crushed peppermint candies into the truffle base for a holiday version, and swapped the pink candy melts for dark chocolate when I wanted something a little less sweet. A friend of mine rolls the finished truffles in crushed graham crackers before the coating sets, which adds a nice crunch and a hint of honey flavor.
- Try golden Oreos with white candy melts and a drizzle of caramel for a blondie vibe.
- Add a teaspoon of instant espresso powder to the truffle mixture for a grown up mocha twist.
- Roll the truffles in finely chopped toasted pecans or shredded coconut right after dipping for extra texture and flavor.
 Save to Pinterest
 Every time I pull a container of these out of the fridge, someone asks for the recipe, and I love telling them it's just two main ingredients and a little patience. They're proof that you don't need fancy skills or a long ingredient list to make something people remember.
Recipe Help Center
- → How long do Oreo truffle balls stay fresh?
Store these truffles in an airtight container in the refrigerator for up to 1 week. The coating stays firm and the filling remains creamy and fresh when kept chilled.
- → Can I freeze these candy-coated truffles?
Yes, freeze undecorated truffle balls before dipping for up to 2 months. Thaw in the refrigerator before coating with melted candy. Once coated, they're best enjoyed within a week but can be frozen for short-term storage.
- → Why is my candy coating too thick?
Add 1 teaspoon vegetable shortening to the melted candy melts and stir until smooth. This thins the coating for easier dipping and creates a shinier finish. Avoid adding water or milk as this will seize the candy.
- → Can I use white chocolate instead of candy melts?
White chocolate can work but may not set as firmly as candy melts and can soften at room temperature. Candy melts are specifically formulated to create a hard shell that holds its shape, making them ideal for coating truffles.
- → How do I prevent truffle balls from falling apart when dipping?
Chill the rolled truffles for at least 30 minutes until firm to the touch before dipping. Work quickly and use a dipping fork to minimize handling. If they become too soft during dipping, return them to the refrigerator for 10-15 minutes.
- → Can I make these without a food processor?
Absolutely. Place Oreos in a sealed zip-top bag and crush with a rolling pin until fine crumbs form. This method takes slightly longer but achieves the same texture. Ensure no large cookie pieces remain for smooth truffle centers.