Save to Pinterest
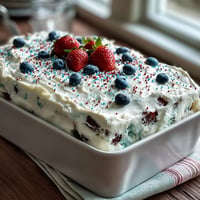
 There's something almost magical about the ease of dump cake—the way it emerged as my go-to solution on a Tuesday evening when I'd promised to bring dessert to a potluck and completely lost track of time. I stood in my kitchen with thirty minutes to spare, staring at an empty countertop, and suddenly remembered my grandmother mentioning she'd thrown together fruit, cake mix, and butter in a pan once and called it genius. That simple confession became my salvation, and now, years later, it's the dessert I reach for whenever I need something that feels homemade without demanding my full attention.
I learned the real magic of dump cake at my daughter's soccer tournament, of all places. A parent volunteer had brought one to share between games, and watching kids demolish it faster than the adults could was genuinely humbling. What struck me most was how unashamed she was about it—she served it from a 9x13 pan with a spatula, no fancy plating, no apologies, just pride in feeding a hungry crowd something warm and satisfying.
Ingredients
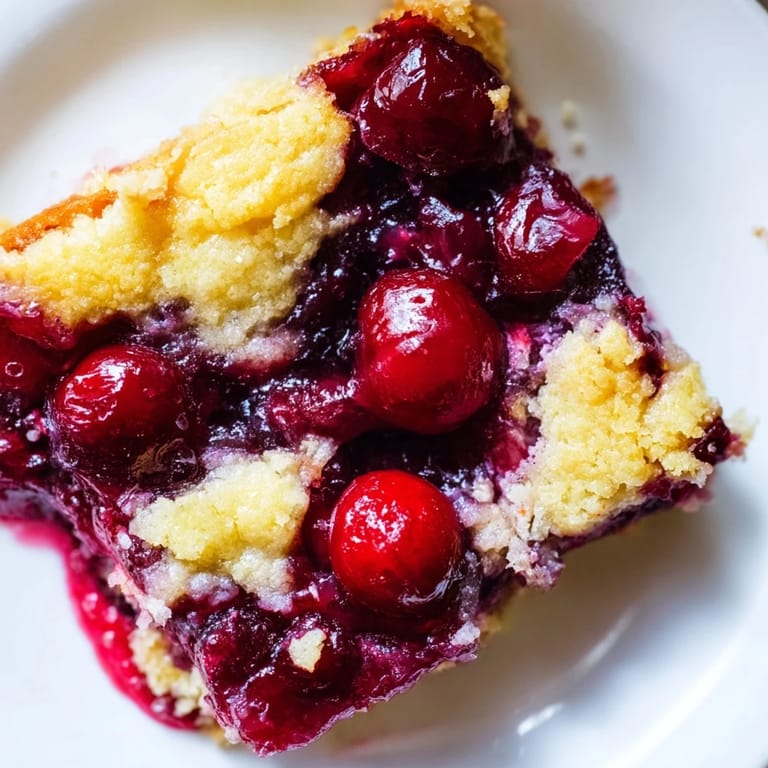
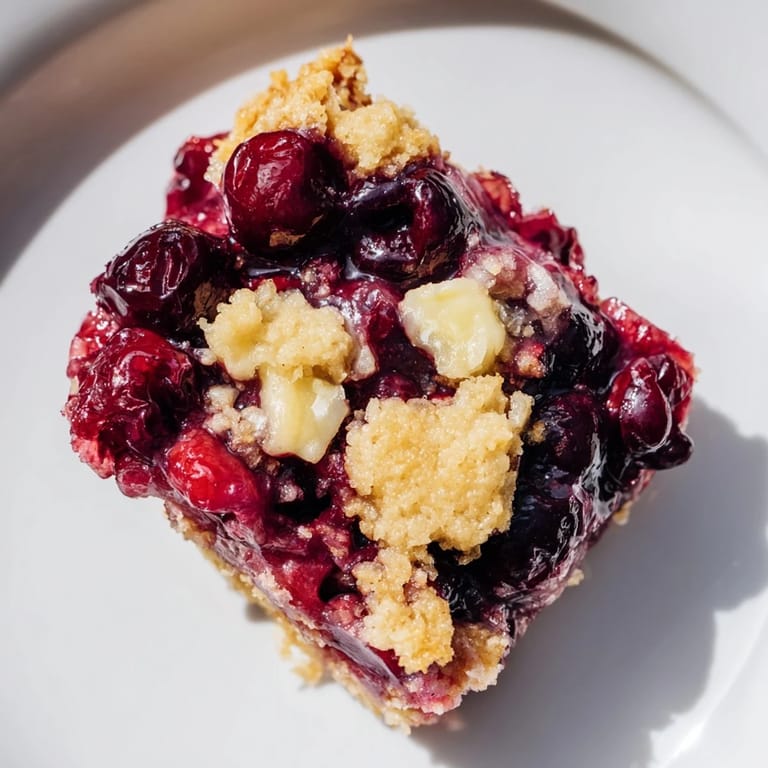
- 2 cans fruit pie filling (21 oz each): Cherry, apple, and blueberry are classics, but peach and blackberry work beautifully too—the filling does the flavor heavy lifting here, so choose what you genuinely enjoy eating.
- 1 box cake mix (15.25 oz): Yellow or white provides a neutral canvas; I've used vanilla, lemon, and even spice varieties depending on the fruit layer, and each adds a subtle dimension to the final taste.
- 1/2 cup unsalted butter, cold and sliced thin: Those thin pats are essential—they melt more evenly across the top, creating a golden crust rather than pools of grease, so take a moment to slice them properly.
Tired of Takeout? 🥡
Get 10 meals you can make faster than delivery arrives. Seriously.
One email. No spam. Unsubscribe anytime.
Instructions
- Preheat and prepare:
- Set your oven to 350°F and lightly grease a 9x13-inch baking dish—this is the moment to make sure your butter will slide easily, and trust me, cold hands and a cold dish make the next steps much cleaner.
- Layer the fruit:
- Pour both cans of pie filling straight into the dish and spread it evenly with a spatula, making sure the fruit is distributed without creating deep wells that will bake unevenly.
- Top with dry cake mix:
- Sprinkle the entire box of dry cake mix over the fruit layer—this is the critical moment where you do absolutely nothing else, no stirring, no mixing, just let it sit as a dry blanket on top of the fruit.
- Add the butter:
- Arrange your cold butter slices across the top, covering as much surface area as you can manage; the butter will melt down and activate the cake mix as it bakes.
- Bake until golden:
- Bake for 40 to 45 minutes, watching for the top to turn golden brown and the fruit to bubble at the edges—you'll smell it before you see it, a warm, buttery, fruity aroma that fills the whole kitchen.
- Rest and serve:
- Let it cool for just five minutes or so, then serve warm with whipped cream or vanilla ice cream if you're feeling indulgent.
 Save to Pinterest
 I'll never forget watching my neighbor's teenage son—the one who usually rolls his eyes at homemade desserts—come back for thirds of dump cake at a block party. His honesty was refreshing: it doesn't need to be complicated to be good, it just needs to taste like someone cared enough to bring it warm.
Playing with Flavor Combinations
Once you make a basic dump cake, the combinations become endlessly fun. Cherry filling with chocolate cake mix tastes like a Black Forest cake without the fussing, apple filling with spice cake reminds me of autumn in a pan, and blueberry with vanilla feels light and summery. I've even paired peach filling with a lemon cake mix and watched people ask for the recipe, surprised that something so simple tasted so intentional. The beauty is that you're not experimenting with baking science—you're just playing with flavors you already know work together.
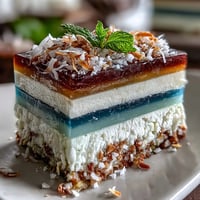
Texture Tricks and Toppings
The base recipe is absolutely fine on its own, but a handful of chopped nuts—pecans or walnuts scattered over the top before baking—adds a welcome crunch that contrasts with the soft, fruity interior. Shredded coconut does something similar but gentler, toasting as it bakes and adding a subtle tropical undertone. One time I mixed granola into the top layer just because it was what I had on hand, and it created an almost intentional crumble texture that people actually preferred. These aren't improvements on the original—they're just ways to make it your own.
Storage and Make-Ahead Wisdom
Dump cake actually gets better the next day as the flavors meld and the texture settles into something more cake-like and cohesive. Cover it and store it in the refrigerator for up to three days, and you can reheat individual servings in the microwave or eat them cold straight from the dish. I've learned that having dump cake in the fridge is like having a cheat code for unexpected guests or a moment when you need something sweet but your energy is depleted.
- Cool the cake completely before covering to avoid condensation making the top soggy.
- Reheat gently—a few seconds in the microwave brings back warmth without drying it further.
- Serve cold with a dollop of whipped cream if you want it to feel a little fancier than it actually is.
 Save to Pinterest
 Dump cake taught me that the best recipes aren't always the most impressive ones—sometimes they're the ones that show up reliably when life gets busy, that taste genuinely wonderful, and that remind us to stop overthinking dessert. Serve it warm, enjoy the company it brings to your table, and never apologize for how easy it was to make.
Recipe Help Center
- → What types of fruit fillings work best?
Cherry, apple, and blueberry pie fillings are excellent choices, but you can experiment with other fruit blends for different flavors.
- → Can I use different cake mixes?
Yes, yellow, white, chocolate, or spice cake mixes can be used to vary the taste and complement the fruit layer.
- → Why do we place butter on top in slices?
Sliced cold butter melts evenly during baking, creating a rich, flaky topping and helping the cake mix to brown nicely.
- → How do I prevent the top from burning?
Bake at 350°F and check near the end of cooking. If browning too quickly, loosely cover with foil to protect the top.
- → How should leftovers be stored?
Keep leftovers covered in the refrigerator and consume within three days to maintain freshness and texture.
- → Can nuts or coconut be added?
Yes, sprinkling chopped nuts or shredded coconut before baking adds extra crunch and flavor contrast.