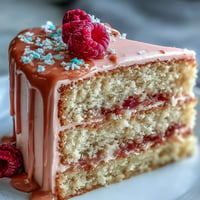
 Save to Pinterest
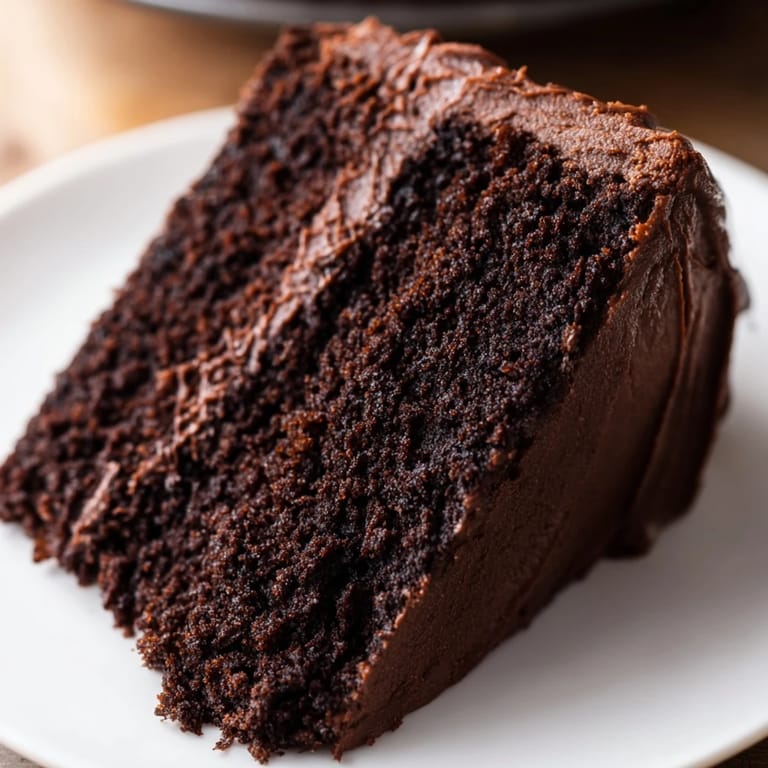
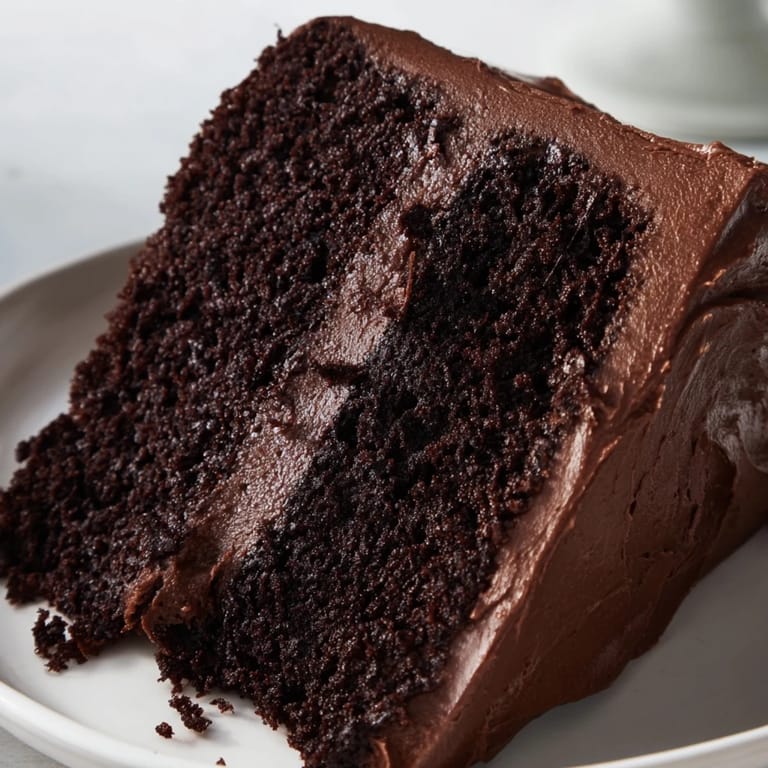
 There's something almost defiant about a slice of devil's food cake—the kind of dessert that doesn't apologize for being rich, dark, and unapologetically indulgent. I learned to make this version after a friend brought one to a potluck and refused to share the recipe, which naturally made me determined to crack the code. Turns out, the secret wasn't complicated; it was understanding that boiling water isn't a mistake in the ingredient list, but the thing that makes the cake impossibly moist and gives it that signature tender crumb that melts on your tongue.
I made this cake for my partner's birthday during a particularly stressful week, and the moment they took that first bite, everything else seemed to fade away. They closed their eyes, and I remember thinking that maybe this is what dessert is really for—not just sweetness, but a small permission slip to pause and feel something good.
Ingredients
- All-purpose flour: The backbone that keeps everything structured; sifting it with the dry ingredients ensures no clumps lurk in your batter.
- Dutch-processed cocoa powder: This alkaline cocoa has a deeper, more sophisticated flavor than natural cocoa; don't substitute unless you want a different cake entirely.
- Granulated sugar: It dissolves into the wet ingredients and helps create that tender crumb structure.
- Baking powder and baking soda: Together they create lift and ensure the cake rises evenly; they're not interchangeable, so measure carefully.
- Eggs at room temperature: They mix more smoothly and incorporate air better than cold eggs, which actually matters for texture.
- Whole milk: Room temperature milk blends seamlessly without shocking the batter, creating a more uniform crumb.
- Vegetable oil: This keeps the cake moist longer than butter alone would; the fat coats the flour particles and prevents drying.
- Boiling water: This is the revelation—it blooms the cocoa powder and creates steam that makes the cake impossibly tender and fudgy.
- Unsalted butter for frosting: Start with softened butter or your frosting will be lumpy and impossible to spread smoothly.
- Powdered sugar, sifted: Sifting removes lumps before it hits the frosting, preventing a grainy texture.
Tired of Takeout? 🥡
Get 10 meals you can make faster than delivery arrives. Seriously.
One email. No spam. Unsubscribe anytime.
Instructions
- Set your stage:
- Preheat your oven to 350°F and get those cake pans ready with parchment—grease first so the paper sticks, then line the bottom. This small step means your cake won't stick and tear when you turn it out.
- Dry ingredients meet:
- Sift your flour, cocoa powder, sugar, baking powder, baking soda, and salt together into a large bowl. Sifting isn't just about removing lumps; it aerates everything and helps distribute the leavening evenly.
- Bring it together:
- Add your eggs, milk, oil, and vanilla to the dry mixture and beat on medium speed until just combined—don't overmix or you'll develop gluten and toughen the cake. It should look mostly smooth.
- The hot water moment:
- Reduce the mixer to low speed and slowly add your boiling water; the batter will look shockingly thin and liquid, but trust the process. This is where the magic happens—the water will bloom the cocoa and create steam that makes the finished cake incredibly tender.
- Into the pans:
- Divide the thin batter evenly between your prepared pans; it will look like you're filling them with chocolate soup, but it's exactly right.
- Bake until done:
- Bake for 28 to 32 minutes, checking with a toothpick inserted into the center—it should come out clean or with just a few moist crumbs clinging to it. If it comes out wet with batter, give it a few more minutes.
- Cool with patience:
- Let the cakes rest in their pans for 10 minutes before turning out onto wire racks; rushing this step can cause them to crack or fall apart. Complete cooling takes time, so don't frost until they're completely cool or the frosting will melt.
- Make the frosting:
- Beat softened butter on medium-high speed until it's pale and creamy, about 2 minutes. Gradually add your sifted powdered sugar and cocoa powder, beating until the mixture is smooth and combined.
- Finish the frosting:
- Add milk, vanilla, and salt, then beat until the frosting is fluffy and spreadable, adding a little more milk if it seems too thick. You want it soft enough to spread but thick enough to hold layers.
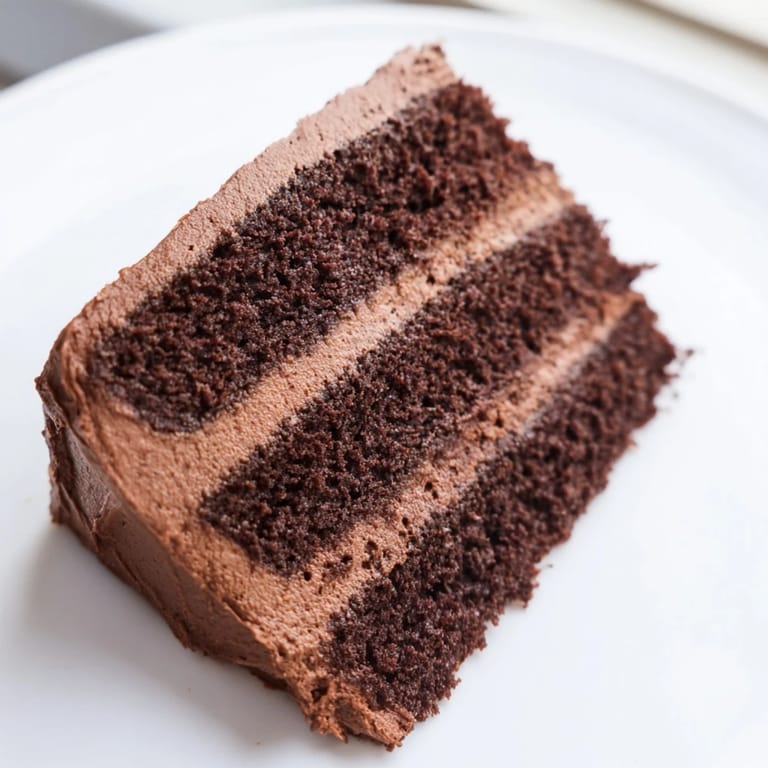
- Assemble the cake:
- Place one cake layer on your serving plate and spread a thick layer of frosting over the top. Set the second layer on top and frost the top and sides generously.
- Slice and savor:
- A sharp knife dipped in hot water and wiped between cuts will give you clean slices; the reward is a perfect cross-section of dark cake and silky frosting.
 Save to Pinterest
 Years later, I still remember my neighbor asking for this recipe after one small bite, and the satisfaction of knowing that something I made from scratch had genuinely moved her. That's the thing about devil's food cake—it's dramatic enough to make a moment feel special, but unpretentious enough to share generously.
The Magic of Moisture
The most common mistake I see people make with chocolate cake is underbaking or overbaking, both of which steal the moisture this cake depends on. The boiling water technique essentially brews the cocoa powder, extracting maximum flavor while creating steam in the batter that keeps the finished cake tender even days later. I've found that checking the cake at 28 minutes rather than waiting until 32 gives me more control—you're looking for just the faintest jiggle in the very center when you gently shake the pan, not a completely set cake.
Cocoa Powder Matters More Than You'd Think
I once made this cake with whatever cocoa powder was on sale, and while it was still good, it didn't have that sophisticated, almost wine-like depth that Dutch-processed cocoa brings. The alkaline treatment gives Dutch-processed cocoa a darker color and smoother flavor profile that feels less bitter and more refined. It's worth seeking out, or ordering online if your local grocery store doesn't carry it—the difference is genuinely noticeable in the final cake.
Frosting Secrets and Variations
The frosting should be thick enough to hold its shape but soft enough to spread without tearing the cake layers, which means you might need slightly more or less milk depending on your climate and how long the butter sat out. I've learned that beating it for an extra minute or two after adding all the ingredients creates a fluffier, more luxurious texture that feels less heavy. For extra decadence, brush each cake layer with a touch of brewed coffee before frosting—it amplifies the chocolate flavor without tasting like coffee.
- Make a ganache layer between the cakes by pouring warm chocolate ganache over the first layer and letting it set slightly before adding frosting.
- Substitute half the boiling water with strongly brewed coffee to deepen the chocolate flavor in the cake itself.
- Store covered at room temperature for up to 2 days, or refrigerate for up to 5 days—the cake actually improves slightly as flavors meld.
 Save to Pinterest
 This devil's food cake has become my go-to for celebrations big and small, the kind of recipe I've made so many times that I could do it half-asleep. The best part is watching someone's face light up when they taste it—that moment when dessert transcends being just sugar and butter and becomes a small gift of joy.
Recipe Help Center
- → What makes the cake so moist?
The addition of boiling water to the batter helps dissolve the cocoa and activates the baking soda, resulting in a tender, moist crumb.
- → Can I substitute coffee for boiling water?
Yes, replacing boiling water with brewed coffee intensifies the chocolate flavor without altering texture.
- → How do I achieve a fluffy buttercream frosting?
Beat softened butter until creamy before gradually adding sifted powdered sugar and cocoa powder. Add milk and vanilla, then beat until light and spreadable.
- → What type of cocoa powder is best to use?
Dutch-processed cocoa powder is recommended for its smooth flavor and dark color, enhancing the cake's richness.
- → How should this cake be stored?
Keep covered at room temperature for up to 2 days, or refrigerate for up to 5 days to maintain freshness.
- → Are there common allergens in this cake?
Yes, it contains wheat (gluten), eggs, and dairy. Always check ingredient labels for possible soy traces.