 Save to Pinterest
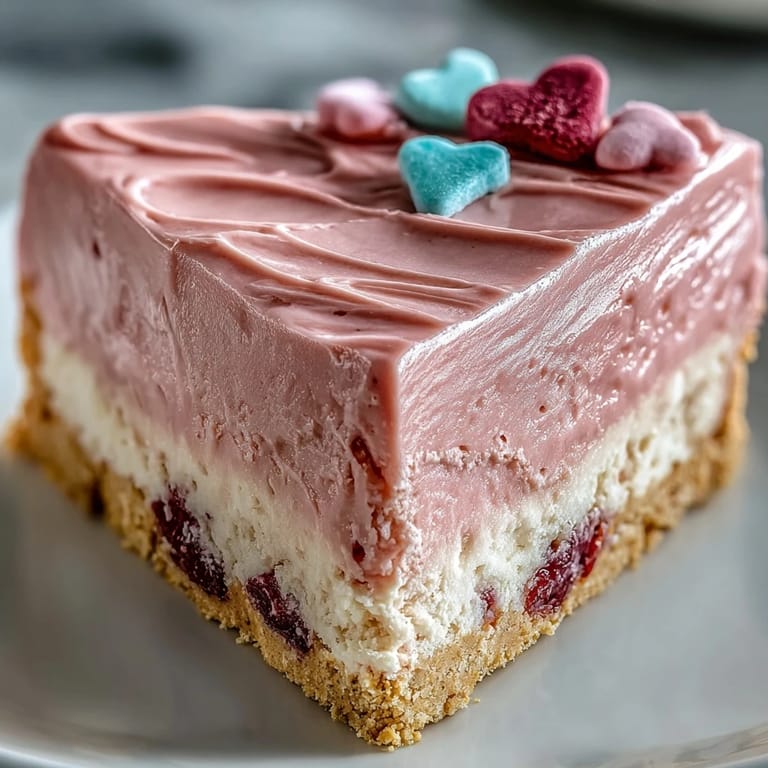
 My neighbor knocked on my door one February afternoon holding an empty cake stand and a simple request: something festive but not fussy for her daughters Valentine party. I had twenty-four hours, no desire to turn on the oven, and a bag of conversation hearts left over from last year. What came together in my kitchen that evening turned into the most requested dessert in my repertoire. The pastel candies pressed into soft clouds of frosting looked like edible confetti, and every kid (and parent) left with sticky fingers and huge smiles.
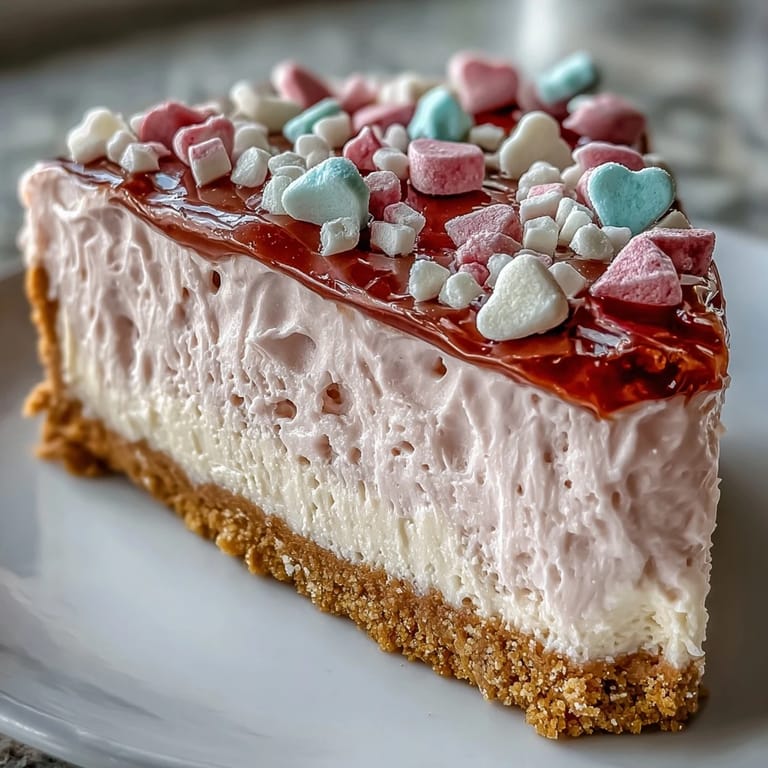
I brought this to a potluck brunch once, and three people asked if I ordered it from a bakery. One friend tried to scrape extra frosting off the serving plate when she thought no one was looking. The pastel pink frosting and heart-covered sides photograph beautifully, but honestly, the real win is watching people realize they can eat the decorations. Conversation hearts go from hard to slightly chewy after a few hours in the fridge, and that textural surprise is half the charm.
Ingredients
- Graham cracker crumbs: The buttery, slightly sweet base that holds everything together without competing with the creamy filling; use a food processor or a rolling pin and a ziplock bag to make your own crumbs.
- Unsalted butter: Melted and mixed with the crumbs to create that press-in crust; salted butter works too, but cut the added sugar slightly to balance the flavor.
- Granulated sugar (for crust): Just enough sweetness to make the crust taste intentional, not bland.
- Cream cheese: The star of the filling, softened to room temperature so it whips smooth without lumps; cold cream cheese will never blend properly no matter how long you beat it.
- Powdered sugar: Dissolves instantly into the cream cheese and whipped cream, giving you that cloud-like sweetness without any gritty texture.
- Pure vanilla extract: A warm, familiar note that ties the filling and frosting together; imitation vanilla works, but pure extract tastes noticeably richer.
- Heavy whipping cream: Whipped to stiff peaks twice in this recipe, once for the filling and once for the frosting; make sure it is very cold or it will not whip properly.
- Pink gel food coloring: Optional but delightful, just a drop or two turns plain frosting into something that looks like it belongs at a party.
- Conversation heart candies: The crunchy, nostalgic decoration that makes this cake unmistakably festive; press them gently or they will crack the frosting.
- Rainbow sprinkles: A final flourish of color and texture on top; use whatever sprinkles make you happy.
Tired of Takeout? 🥡
Get 10 meals you can make faster than delivery arrives. Seriously.
One email. No spam. Unsubscribe anytime.
Instructions
- Build the crust:
- Stir graham cracker crumbs, melted butter, and sugar until the mixture looks like damp sand and holds together when you squeeze it. Press it firmly into the bottom of your springform pan, using the flat bottom of a measuring cup to pack it down evenly, then chill for 15 minutes so it sets up nicely.
- Whip the filling base:
- Beat softened cream cheese until it is completely smooth and fluffy, then add powdered sugar and vanilla and beat again until the mixture is light and airy. In a separate chilled bowl, whip 1 cup of cold heavy cream to stiff peaks, then gently fold it into the cream cheese mixture until no white streaks remain.
- Assemble and chill:
- Spread the filling evenly over the chilled crust, smoothing the top with an offset spatula so it looks bakery-perfect. Cover the pan and refrigerate for at least 4 hours, or overnight if you want the firmest, cleanest slices.
- Make the frosting:
- Whip the remaining cup of heavy cream with powdered sugar and vanilla until stiff peaks form, then add pink gel food coloring one drop at a time, mixing gently until you reach your desired shade. Do not over-whip or it will turn grainy and butter-like.
- Frost and decorate:
- Release the chilled cheesecake from the springform pan and transfer it to a serving plate, then spread the pink frosting evenly over the top and sides. Press conversation hearts gently into the frosting around the sides, covering it completely, then scatter more hearts and rainbow sprinkles on top for a festive finish.
- Set and serve:
- Chill the decorated cake for 30 minutes so the frosting firms up and the candies stay put when you slice. Serve cold, wiping your knife between cuts for the cleanest edges.
 Save to Pinterest
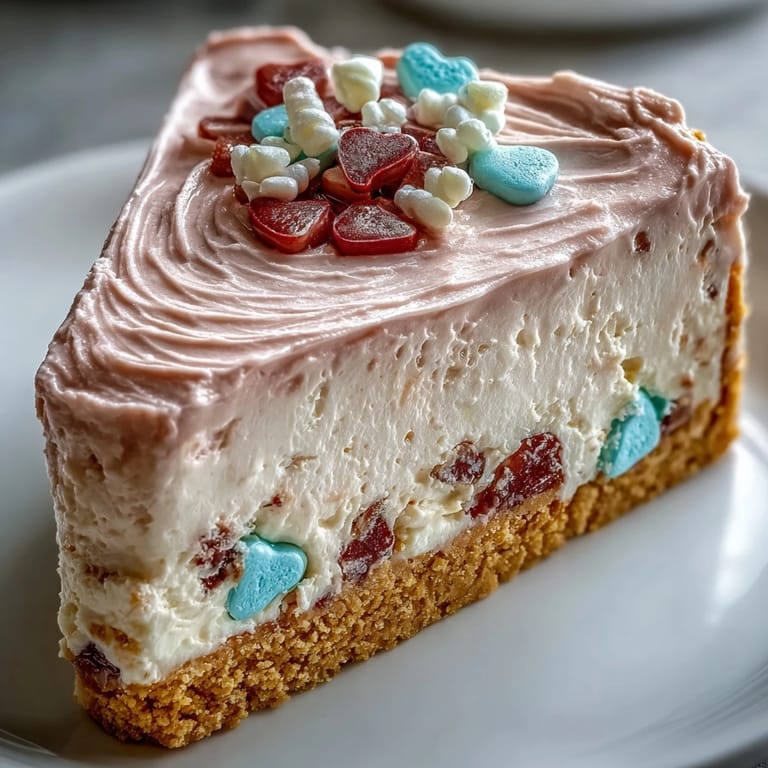
 The first time I made this, my daughter walked into the kitchen, saw the pastel pink frosting and candy hearts, and said it looked like a cake from a fairy tale. She helped me press the hearts into the sides, and we ended up eating the broken ones straight from the bag. That night, after everyone had gone to bed, I found a note she had written on one of the leftover candies and stuck to the fridge: Best Mom. I still have it tucked into my recipe binder.
How to Get the Smoothest Filling
The secret to a filling that tastes like mousse instead of frosting is in how you fold the whipped cream into the cream cheese. Beat the cream cheese until it is completely lump-free and almost fluffy before you add anything else. When you fold in the whipped cream, use a rubber spatula and cut down through the center, then sweep along the bottom and up the side in a gentle circular motion. Stop as soon as you do not see any white streaks; over-mixing will deflate the airiness you worked so hard to create. If your filling looks grainy or separated, your cream cheese was too cold or your cream was not whipped enough.
Why This Works Without Baking
Traditional cheesecake relies on eggs and oven heat to set the filling, but this version uses whipped cream to create structure and a long chill to firm everything up. The cream cheese provides richness and body, while the whipped cream adds lightness and volume. Because there are no eggs, the filling stays silky and mousse-like instead of dense and custard-like. The crust does not need baking either; the butter acts as a binder, and the fridge time solidifies it into a firm, sliceable base. It is a shortcut that does not taste like one.
What to Do If You Don't Have a Springform Pan
You can make this in a regular 8-inch round cake pan or even a deep pie dish, but you will need to line it completely with parchment paper, leaving enough overhang on the sides to lift the whole cake out once it is chilled. Press the crust in as usual, add the filling, and chill. When you are ready to frost, use the parchment overhang to carefully lift the cake onto a serving plate. It is a little trickier to get clean edges, but it works beautifully if you are patient and use a wide spatula for support.
- A square 8x8-inch pan also works and gives you neat, geometric slices that stack nicely on a platter.
- If you use a pie dish, skip the side frosting and just pile the whipped frosting and candies on top for a simpler, equally festive look.
- Always chill the pan for at least 4 hours; trying to remove the cake early will result in a messy, soupy disaster.
 Save to Pinterest
 This cake is proof that the best desserts do not always come from complicated techniques or fancy ingredients. Sometimes all you need is a little whimsy, a lot of cold cream, and the willingness to let a dessert be exactly what it wants to be: sweet, playful, and impossible not to smile at.
Recipe Help Center
- → Can I make this ahead of time?
Absolutely. The cheesecake filling actually improves after chilling overnight, and the candy hearts stay crunchy when stored properly in the refrigerator. Decorate shortly before serving for optimal texture.
- → What if I can't find conversation hearts?
Any small heart-shaped candies, Valentine's themed sprinkles, or even crushed peppermint candies work beautifully. The key is maintaining that crunchy, colorful element against the creamy layers.
- → How do I prevent the frosting from cracking when adding candies?
Chill the frosted cake for at least 30 minutes before decorating. Gently press candies at a slight angle rather than straight in. Work with slightly softened room-temperature frosting for better adhesion.
- → Can I use different crust options?
Vanilla wafers, shortbread cookies, chocolate graham crackers, or even pretzel pieces for a salty-sweet variation all create excellent foundations. Keep the butter-to-crumb ratio consistent for proper structure.
- → Why did my cream cheese mixture turn lumpy?
This typically happens when cream cheese is too cold. Let it sit at room temperature for 30-60 minutes before beating. If lumps appear, warm the bowl slightly and beat longer until completely smooth before adding whipped cream.
- → How long will this keep in the refrigerator?
Properly covered, this keeps for 4-5 days. Note that the candy hearts gradually soften over time, so the texture changes slightly after day two. For best results, decorate within 24 hours of serving.