 Save to Pinterest
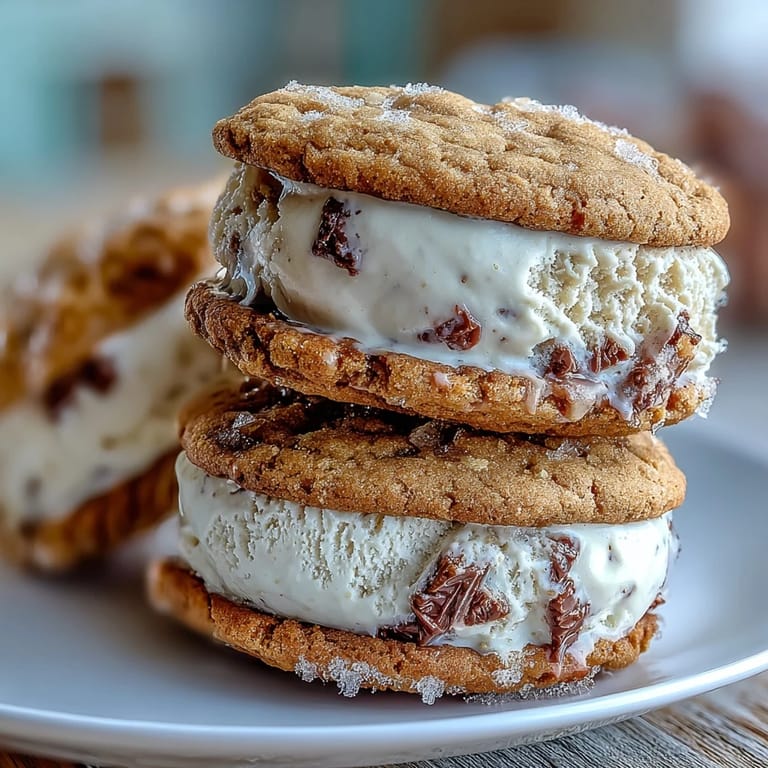
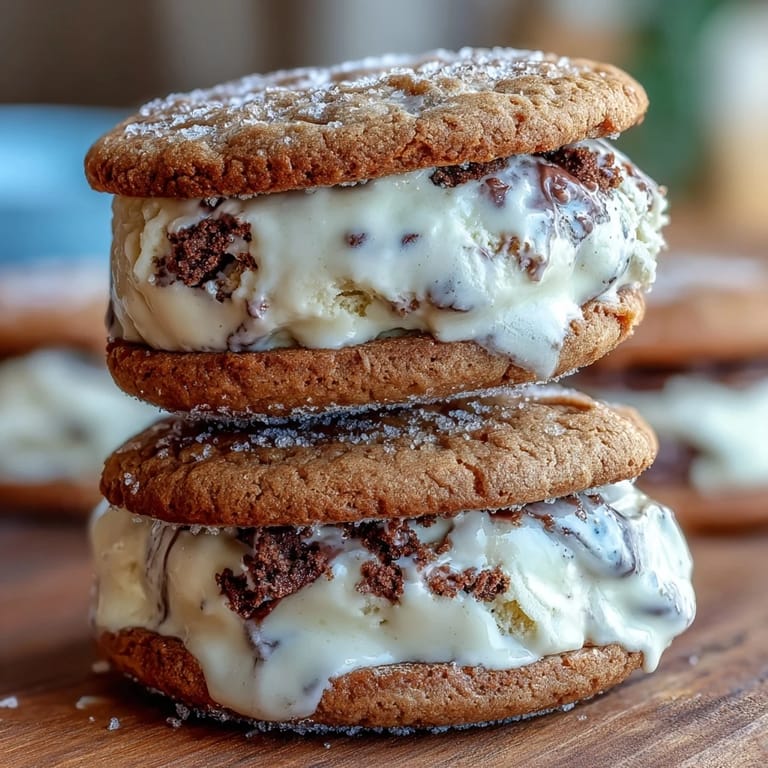
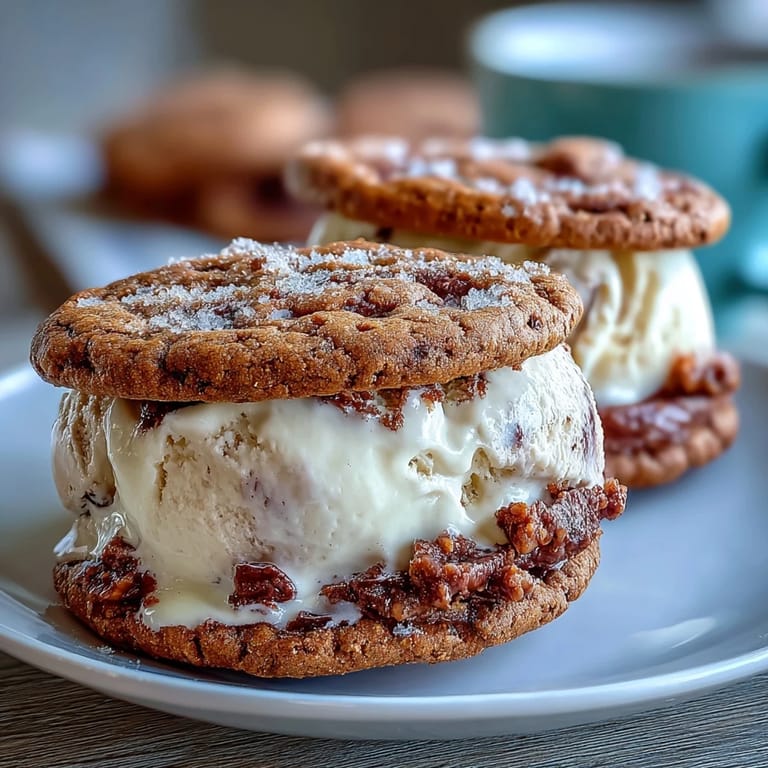
 There's something about a coffee cookie that stops you mid-bite, and when you pair it with vanilla bean ice cream, suddenly you're not just eating dessert—you're savoring a moment. My friend Sarah brought these to a summer gathering last year, and I watched them disappear faster than any dish I'd ever made. The combination felt both comforting and unexpectedly sophisticated, like we'd discovered some secret menu item that shouldn't exist but absolutely should.
I made these for my neighbor's birthday last spring, and the moment she bit into one, her entire face changed—that genuine surprise when something tastes even better than it looks. She asked for the recipe immediately, and I realized this wasn't just a dessert, it was the kind of thing people actually remember making together in their own kitchens.
Ingredients
- Unsalted butter: Softened butter creams better and gives you full control over the salt content—this matters more than you'd think when the cookies are the star.
- Light brown sugar and granulated sugar: The combination creates a texture that's soft in the center and slightly crisp at the edges, the sweet spot for ice cream sandwiches.
- Instant espresso powder: Don't skip this or swap it for regular instant coffee—espresso powder is concentrated and gives a real coffee depth without bitterness.
- Vanilla extract: A teaspoon seems small, but it balances the coffee and keeps the cookies from tasting one-dimensional.
- All-purpose flour: Measure by weight if your scale is nearby; it prevents the common mistake of adding too much flour and ending up with dense cookies.
- Heavy cream and whole milk: This ratio creates an ice cream that's rich without being heavy, and it freezes to the perfect scoop-able texture.
- Vanilla bean: Real vanilla bean with visible seeds transforms this from good to unforgettable—splurge here if you can, or use vanilla bean paste as a reliable backup.
Tired of Takeout? 🥡
Get 10 meals you can make faster than delivery arrives. Seriously.
One email. No spam. Unsubscribe anytime.
Instructions
- Warm the milk mixture gently:
- Combine milk, sugar, vanilla bean seeds and pod, and salt in a saucepan over medium heat, stirring occasionally until the sugar dissolves and steam rises from the surface. Watch for the moment it's hot but not boiling—you'll see small bubbles at the edges before it reaches a full roll.
- Cool and combine:
- Once you remove it from heat, discard the vanilla pod and let the mixture sit for a few minutes before stirring in the heavy cream. This waiting period lets the vanilla flavor deepen and prevents the cream from splitting slightly from the heat.
- Chill thoroughly:
- Transfer to the refrigerator for at least two hours, though overnight is even better—cold custard churns more smoothly and gives you better texture.
- Churn to soft serve:
- Follow your ice cream maker's instructions, which usually takes 20 to 30 minutes depending on the machine. The ice cream should look like soft serve when it comes out, not fully frozen.
- Freeze in a slab:
- Spread the churned ice cream into a parchment-lined 9x13-inch pan to about three-quarters of an inch thick, then freeze until firm, at least two hours. A thicker slab is harder to cut cleanly, but too thin and your sandwiches will be ice cream-light.
- Cream the butter and sugars:
- In a large bowl, beat softened butter with brown sugar and granulated sugar until the mixture looks pale and fluffy, about three minutes. This incorporates air that makes the cookies tender rather than dense.
- Add eggs and flavor:
- Beat in the eggs one at a time, then add espresso powder and vanilla extract, mixing until everything is fully combined. The espresso powder might look like dark specks—that's exactly right.
- Combine dry ingredients:
- In a separate bowl, whisk together flour, baking soda, and salt, then add this to the wet ingredients gradually, stirring until just combined. Stop before the dough looks completely uniform; a few flour streaks are fine and prevent overmixing.
- Shape and bake:
- Drop rounded tablespoons of dough onto parchment-lined baking sheets and flatten each slightly to form two-and-a-half-inch rounds. Bake at 350°F for 10 to 12 minutes until the edges look set but the centers still look slightly soft—they'll continue cooking on the hot pan after you remove them from the oven.
- Cool completely:
- Let the cookies rest on the baking sheet for five minutes, then transfer to a cooling rack. They'll firm up as they cool, and trying to assemble while they're still warm will melt your ice cream.
- Cut ice cream rounds:
- Using a round cutter that matches your cookie size, cut out clean rounds from the frozen ice cream slab. Dip the cutter in warm water between cuts to prevent sticking.
- Build the sandwich:
- Place one ice cream round on the flat side of a cookie, then top with another cookie, pressing gently so the layers stay together without squishing the ice cream out the sides. Work quickly so the ice cream doesn't soften too much.
- Final freeze:
- Return assembled sandwiches to the freezer for at least 30 minutes before serving so everything sets and stays together when you bite into it.
 Save to Pinterest
 There's a small moment when you bite through a cold cookie into that creamy vanilla center and the espresso flavor hits just right—it's the kind of detail that makes you grateful someone took the time to make this. These sandwiches became the thing people ask me to bring to summer dinners now, and I don't mind because watching someone discover them is genuinely fun.
The Magic of Coffee and Vanilla Together
Coffee and vanilla seem like they shouldn't work, but they're actually old friends in pastry kitchens everywhere. The espresso powder doesn't make the cookies taste like coffee—it adds depth and a subtle bitterness that makes the vanilla ice cream taste even creamier and more luxurious by contrast. This is the kind of pairing that teaches you something about flavor balancing without ever feeling like a cooking lesson.
Timing and Temperature Tricks
The most common mistake people make with ice cream sandwiches is trying to assemble them too quickly or letting the cookies cool incompletely. Warm cookies melt ice cream, which sounds obvious until you're standing in your kitchen at midnight wondering why everything is falling apart. Freezing the assembled sandwiches is non-negotiable—those final 30 minutes give the components time to settle into each other.
Storage and Make-Ahead Possibilities
These are actually perfect for planning ahead because they improve slightly after a day in the freezer once the flavors have time to meld together. Wrap each sandwich individually in parchment paper and store in an airtight container for up to two weeks, though they never last that long in my house. The parchment prevents freezer burn and lets you grab one without thawing the entire batch.
- For a fancy touch, roll the sandwich edges in mini chocolate chips or finely crushed coffee beans right before the final freeze.
- If you don't have an ice cream maker, you can buy quality vanilla ice cream and use it straight from the container—the homemade cookies make all the difference.
- Strong instant coffee can stand in for espresso powder if that's what you have on hand, though use slightly less since it's often less concentrated.
 Save to Pinterest
 These ice cream sandwiches turn a simple coffee-and-vanilla moment into something memorable, the kind of dessert that people talk about weeks later. Make them when you have time to enjoy the process, because that's when they taste best.
Recipe Help Center
- → How do I make the coffee cookies soft yet flavorful?
Cream the butter with sugars until fluffy, then carefully mix espresso powder and vanilla extract before folding in flour. Bake until edges set but centers remain soft.
- → What is the best way to infuse vanilla bean flavor into ice cream?
Warm milk with scraped vanilla bean seeds and a pinch of salt, dissolve sugar, then combine with cream before chilling and churning for a rich vanilla profile.
- → Can I prepare these sandwiches ahead of time?
Yes, assemble and freeze the sandwiches, ensuring they’re wrapped individually to maintain freshness for up to two weeks.
- → What are good variations to add texture or flavor?
Try rolling edges in mini chocolate chips or crushed coffee beans before freezing to add crunch and extra aroma.
- → How should I store leftovers to maintain quality?
Wrap each sandwich in parchment paper and store in an airtight container in the freezer to prevent freezer burn and preserve taste.