 Save to Pinterest
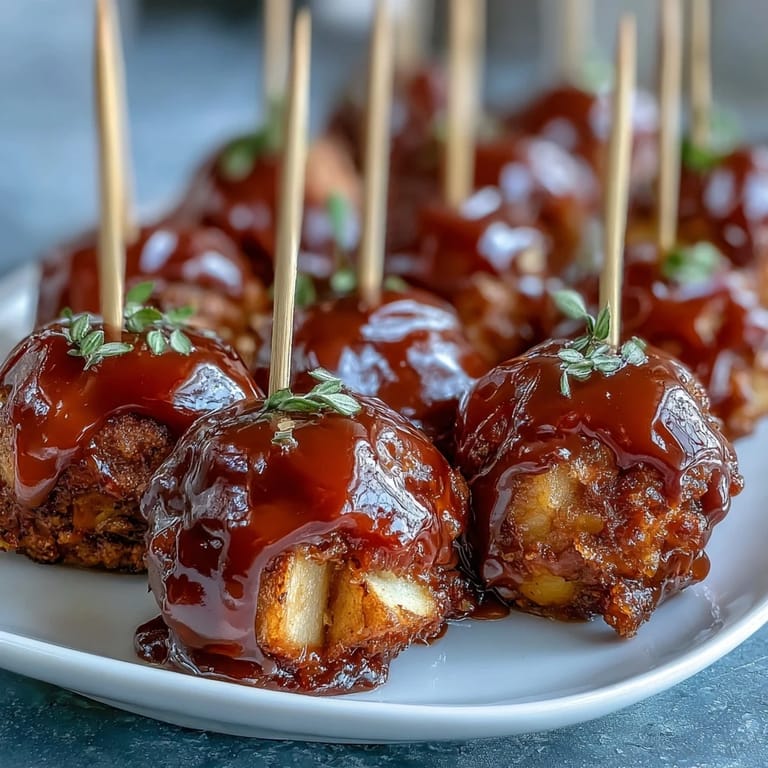
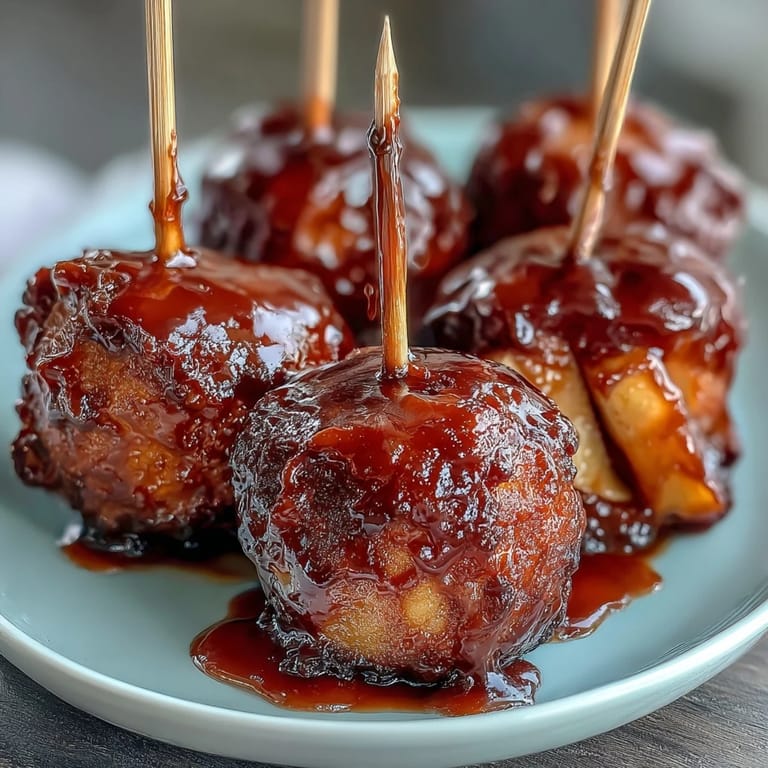
 My neighbor brought a plate of these shimmering candy apple bites to a summer gathering, and I watched them disappear faster than the ice cream. What struck me wasn't just how they looked—all glossy and jewel-like on their little toothpick stands—but how she'd managed to make something so elegant in her tiny kitchen while juggling three kids and a barking dog. I asked for the recipe that evening, and she laughed, saying it was almost too simple to admit. That's when I realized the best party foods aren't the complicated ones; they're the ones that feel like a small celebration in every bite.
I made these for my daughter's tenth birthday party, and one girl asked for the recipe to make them for her own family dinner. Watching kids carefully hold the toothpicks and trying not to get candy on their clothes reminded me that food doesn't need to be complicated to create real moments. By the end of the afternoon, there were sticky fingerprints everywhere and genuine requests for seconds, which felt like winning the party.
Ingredients
- 2 large crisp apples (Granny Smith or Fuji): The tartness cuts through all that sweetness, and firm varieties won't fall apart when you dip them. I've learned that softer apples will slide right off the toothpick, so don't skip the crisper varieties.
- 1 cup granulated sugar: This is the backbone of your candy coating, and measuring it exactly matters more than you'd think.
- 1/3 cup light corn syrup: This prevents crystallization and gives you that glossy, professional finish you see at candy shops.
- 1/4 cup water: Just enough liquid to help the sugar dissolve before it heats up.
- 1/4 teaspoon red food coloring: A tiny amount goes a long way, and you can swap this for green, gold, or whatever matches your mood.
- Nonstick cooking spray: A light mist on your parchment makes cleanup feel like magic.
- Optional toppings: Chopped nuts, mini chocolate chips, or sprinkles applied while the candy is still warm create texture and visual interest.
Tired of Takeout? 🥡
Get 10 meals you can make faster than delivery arrives. Seriously.
One email. No spam. Unsubscribe anytime.
Instructions
- Set up your workspace:
- Line a baking tray with parchment paper and give it a light spray of nonstick spray. This small step saves you from fishing candy off the paper later, trust me on this one.
- Prepare the apples:
- Wash and thoroughly dry your apples, then core them and cut into roughly 1-inch chunks. Dryness is crucial here—any moisture will cause the hot candy to splatter and slide right off the fruit.
- Skewer each piece:
- Push a toothpick into the center of each apple chunk and arrange them on a plate nearby. Having them ready before you start cooking means you won't panic when the candy reaches temperature.
- Build your candy coating:
- In a small saucepan, combine sugar, corn syrup, and water, stirring gently until the sugar dissolves. Once it's smooth, stop stirring and let it boil undisturbed over medium-high heat—stirring after this point will cause unwanted crystallization.
- Hit the hard crack stage:
- Watch your candy thermometer like a hawk; you're aiming for 300°F, which usually takes 7 to 8 minutes. The candy will smell nutty and look amber-colored when it's ready, and this is the moment where things happen fast.
- Add color and dip:
- Remove the pan from heat and quickly stir in your food coloring, then immediately start dipping. Working fast is essential because the candy hardens quickly, so dip, swirl, let the excess drip off, and place on your prepared tray.
- Decorate while warm:
- If you're using toppings, sprinkle them on within seconds of placing each candy apple on the tray. Once the coating cools even slightly, nothing will stick.
- Cool completely:
- Set everything aside at room temperature for at least an hour before serving. Patience here pays off with a satisfying snap when someone bites in.
 Save to Pinterest
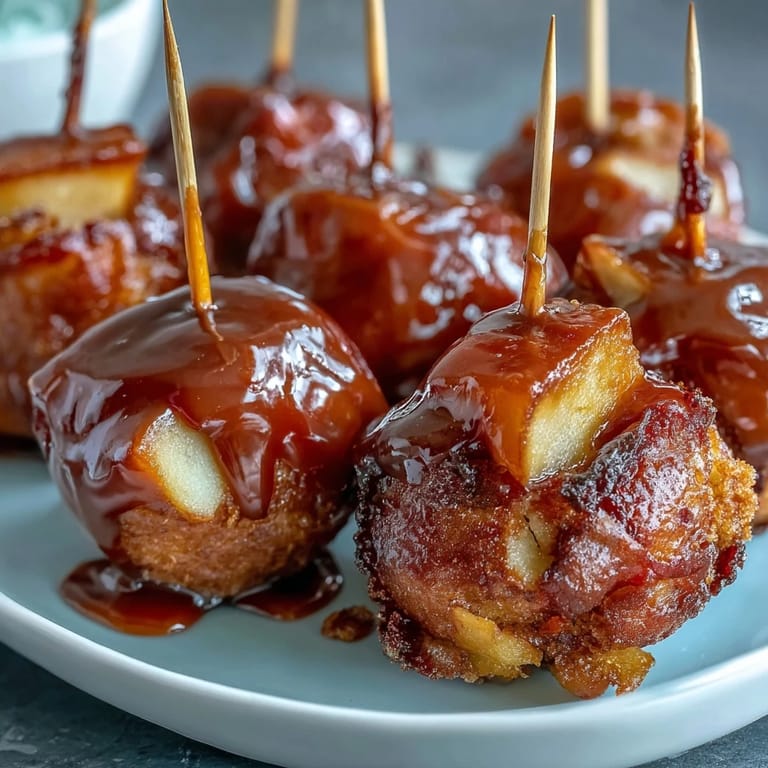
 There's something about watching someone's face when they bite through that hard candy shell and hit the tart apple that makes all the careful temperature-watching worth it. It's one of those recipes that feels like a small magic trick you're performing in your own kitchen.
Choosing Your Apples Wisely
Not all apples behave the same way when you cube them and stick them on toothpicks. Granny Smith apples stay firm and have a bright tartness that balances the sweetness of the candy coating beautifully. Fuji apples are sweeter and hold their shape well too, which means less falling off mid-dip. I've tried softer varieties like Red Delicious, and they turned into mush on the toothpick, teaching me a hard lesson about apple selection that I now share freely with anyone attempting this.
The Temperature Game and Why It Matters
Candy-making hinges entirely on hitting the right temperature, and there's no guessing here. At 300°F, you've reached the hard crack stage, where the sugar has lost almost all its moisture and will harden into that satisfying brittle coating. I used to think I could eyeball it based on color alone, but a proper candy thermometer changed everything, making the whole process feel less like alchemy and more like science. If you don't have one, it's worth picking up for this recipe alone—the difference between 295°F and 305°F is the difference between chewy and perfect.
Storage, Timing, and Party Strategy
One of my favorite things about these bites is that you can make them the day before a gathering, and they'll stay crisp and beautiful in an airtight container. This means you can focus on other party prep without the last-minute stress of dipping hot candy while guests arrive. I usually make them in batches of 12 so I can work with manageable portions and keep the coating at the right temperature for as long as possible.
- Store finished candy apple bites in an airtight container with parchment between layers so they don't stick together.
- If humidity is high on the day you serve them, keep them in a cool spot away from the kitchen since warmth can soften the coating slightly.
- You can make these up to two days ahead, which means less stress on party day and more time to enjoy your guests.
 Save to Pinterest
 These candy apple bites remind me why simple recipes often become the ones people remember and ask for years later. There's joy in the brevity and brightness of them, and somehow they taste even better when shared.
Recipe Help Center
- → What type of apples work best?
Firm, crisp apples like Granny Smith or Fuji hold their shape well and offer a pleasant tartness that complements the candy coating.
- → How do I know when the candy coating is ready?
Bring the sugar mixture to a boil until it reaches the hard crack stage around 300°F, which ensures a crunchy, hard candy shell.
- → Can I add toppings to the candy coating?
Yes, sprinkle chopped nuts, mini chocolate chips, or colorful sprinkles onto each piece immediately after dipping, before the coating hardens.
- → How can I prevent the apples from getting soggy?
Dry apple chunks thoroughly with paper towels before dipping to help the candy stick and maintain a crispy texture.
- → Is it possible to add color variations?
Absolutely, substituting red food coloring with green or other hues can create festive and fun variations for your bites.