 Save to Pinterest
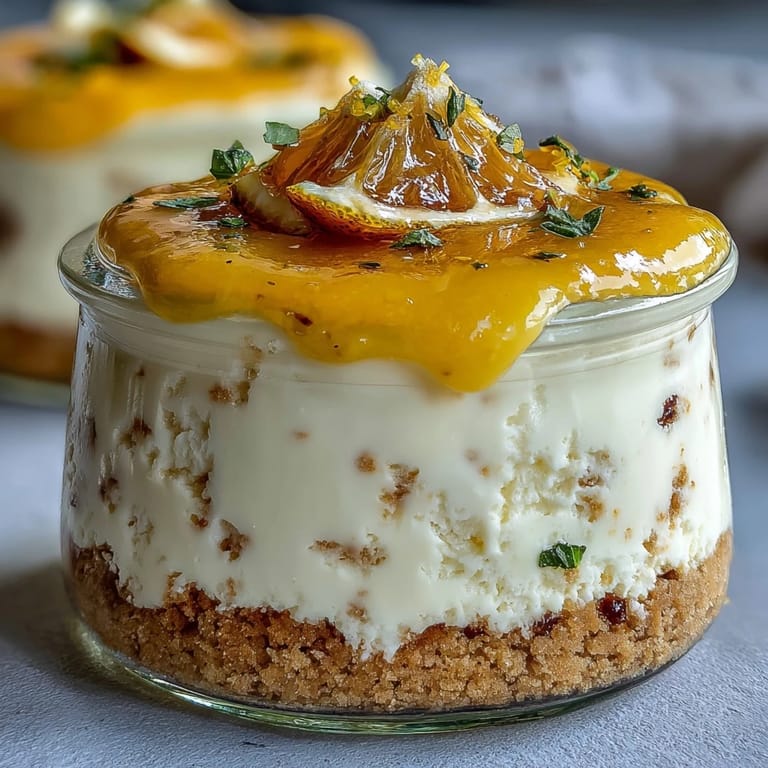
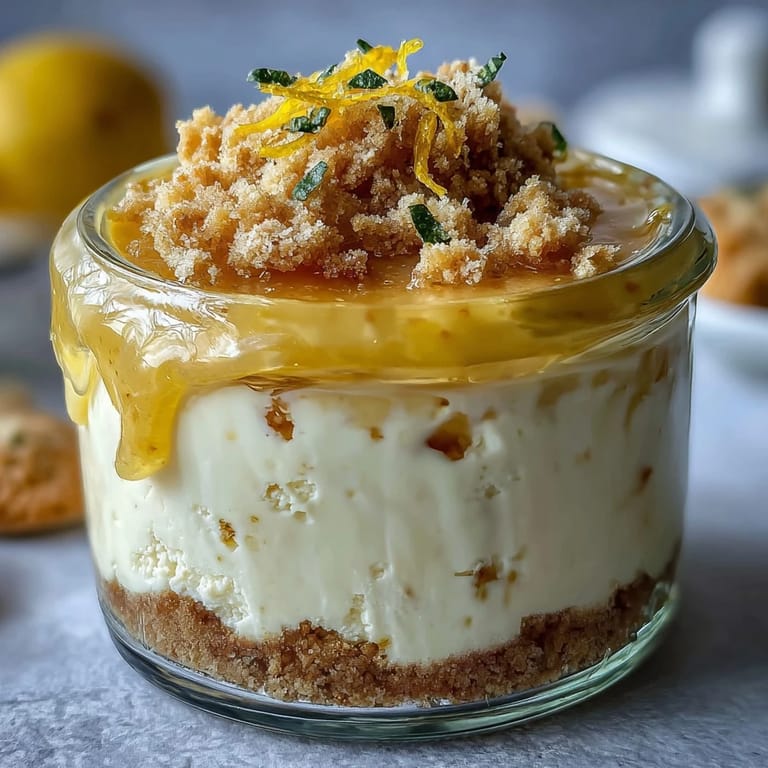
 My cousin Marco called from Naples last summer, insisting I had to try making limoncello cheesecake, but in jars—portable, elegant, no fuss. I was skeptical at first, imagining layers would be messy or the flavors wouldn't marry properly in such a small space. But when I assembled the first batch on a sweltering afternoon, the kitchen suddenly smelled like a Sicilian lemon grove, and I understood the genius immediately. These jars became my answer to every summer invitation after that.
I brought six of these to a dinner party where everyone was already exhausted from the heat, and watching people's faces light up when they tasted that combination of buttery base, silky cheesecake, and tangy lemon curd felt like I'd given them a tiny vacation. One friend asked if I'd made them that morning, and I loved having to confess they'd been ready for two days, sitting quietly in my fridge waiting for their moment.
Ingredients
- Digestive biscuits, 150 g finely crushed: These are your structural hero—they stay crispy when pressed with butter and don't turn to dust when you eat them, though graham crackers work just as well if that's what you have.
- Unsalted butter, 60 g melted: Warm butter binds the biscuits together beautifully and gives you that toasted, almost caramel-like flavor that anchors the whole dessert.
- Granulated sugar, 1 tbsp: Just enough to add sweetness to the base without making it cloying—it enhances rather than dominates.
- Cream cheese, 300 g at room temperature: Cold cream cheese will lump and fight you, but give it twenty minutes on the counter and it becomes impossibly smooth and luxurious.
- Mascarpone cheese, 150 g: This is the secret to the texture—it's richer and silkier than cream cheese alone, and it keeps everything light despite being indulgent.
- Powdered sugar, 80 g: Dissolves instantly into the cheese mixture without any graininess, which means fewer whisking strokes and a smoother result.
- Limoncello liqueur, 60 ml: The star of the show—bright, slightly sweet, with that distinctive Italian lemon intensity that just tastes like summer in a jar.
- Vanilla extract, 1 tsp: A quiet background player that ties all the flavors together and keeps the lemon from feeling one-dimensional.
- Lemon zest, from 1 lemon: Fresh zest adds tiny bursts of aromatic oil throughout the cheesecake, making each bite more interesting than the last.
- Lemon curd, 120 g: Whether store-bought or homemade, this tangy-sweet topping is what transforms creamy into memorable.
- Fresh berries and extra lemon zest for garnish: Not essential, but they make the jars look stunning and add a little textural contrast that guests will notice.
Tired of Takeout? 🥡
Get 10 meals you can make faster than delivery arrives. Seriously.
One email. No spam. Unsubscribe anytime.
Instructions
- Prepare your biscuit base:
- Crush the biscuits until they're mostly fine crumbs with just a few tiny pieces left for texture, then mix with melted butter and sugar until it looks wet like sand. You're looking for something that holds together when pressed but still has a little grit to it.
- Layer the base:
- Divide the mixture evenly among your six jars—about three to four tablespoons per jar—and press down firmly with the bottom of a glass or measuring cup to create a compact, even base. Don't go too gentle here; you want it to support what comes next.
- Beat the cheesecake mixture:
- Make sure your cream cheese and mascarpone are truly at room temperature, then beat them together with the powdered sugar for about two minutes until it's pale and fluffy, which happens faster than you'd expect. Stop occasionally to scrape down the bowl so nothing gets missed.
- Infuse with lemon and liqueur:
- Add the limoncello, vanilla, and fresh lemon zest, then beat again for another minute until everything is fully combined and the mixture looks light enough to hold soft peaks. This is when the kitchen really starts to smell incredible.
- Fill the jars:
- Spoon or pipe the cheesecake mixture over each biscuit base, dividing it equally so each jar gets roughly three-quarters full. Smooth the tops with a spatula if you want them neat, or leave them slightly rustic—both look beautiful.
- Add the lemon curd topping:
- Spoon about two to three teaspoons of lemon curd onto each jar and gently swirl it into the cheesecake with a fork or small knife to create ribbons of tangy sweetness. The swirling isn't just for looks; it distributes the flavor.
- Chill and set:
- Cover the jars and refrigerate for at least two hours until the cheesecake is firm to the touch and feels properly set. You can make these a full day or even two days ahead, which is perfect for weekend gatherings.
- Garnish and serve:
- Just before serving, add a small handful of fresh berries and a tiny pinch of additional lemon zest if you have them on hand. This final touch makes them look like something from a fancy dessert shop.
 Save to Pinterest
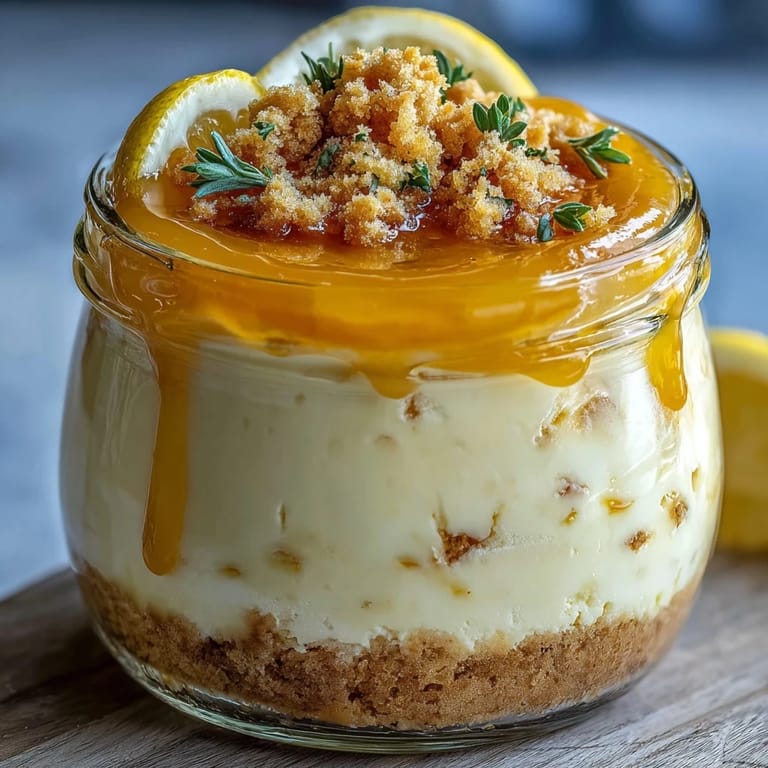
 These jars became my go-to gift for friends moving house or celebrating small victories, because they feel personal without requiring an oven or a recipe I needed to stress about. There's something about handing someone a beautiful jar of something you made with your own hands that says 'I'm thinking of you' better than almost anything else.
Making These Ahead Without Stress
The best part about jar desserts is that they actually improve as they sit in the fridge, letting all the flavors get to know each other. You can assemble them two days in advance, which means on the day of your gathering you're just grabbing them from the fridge and maybe adding a garnish. I've kept mine for three days without any noticeable change in texture, though the flavors seem to deepen slightly after day two.
Swapping Ingredients Without Fear
If limoncello isn't your thing or you need these alcohol-free, swap it for fresh lemon juice with a touch of honey and extra lemon zest—the result is lighter and more citrusy but equally delicious. Graham crackers, shortbread, or even crushed amaretti will work beautifully in place of digestive biscuits, and I've successfully used whipped mascarpone alone if cream cheese wasn't available, which actually makes the texture even lighter.
Serving Suggestions and Storage Wisdom
These are perfect straight from the fridge on a hot day, maybe served alongside a glass of prosecco or a strong espresso depending on the time of day. The jars themselves become part of the appeal—guests often ask if they can keep them, which tells you everything about how memorable this dessert feels.
- Keep these refrigerated until the moment you serve them; they're best eaten cold when the flavors taste brightest and most refreshing.
- If you're transporting them to a gathering, keep them in a cooler with an ice pack to ensure they stay perfectly set.
- These don't freeze well, but they'll last reliably in the fridge for up to three days before any flavor fatigue sets in.
 Save to Pinterest
 These little jars remind me that some of the most elegant desserts come from the simplest ingredients and the least fussy methods. Every time I make them, I'm convinced all over again that the best food is the kind that brings people joy without keeping you trapped in the kitchen on a summer day.
Recipe Help Center
- → How do I make the biscuit base?
Crush digestive biscuits finely and mix with melted butter and sugar until the texture resembles wet sand. Press the mixture firmly into jars to form an even base layer.
- → Can I prepare these jars in advance?
Yes, they can be made up to two days ahead. Keep refrigerated until serving to maintain freshness and texture.
- → Is there an alcohol-free version?
Substitute Limoncello with fresh lemon juice and add extra lemon zest for a similar bright flavor without alcohol.
- → What cheeses are used for the creamy layer?
The creamy layer combines cream cheese and mascarpone to create a rich, smooth texture that holds the flavors well.
- → How should I garnish the jars?
Top jars with lemon curd and optionally garnish with fresh berries and a sprinkle of lemon zest for a vibrant presentation.