 Save to Pinterest
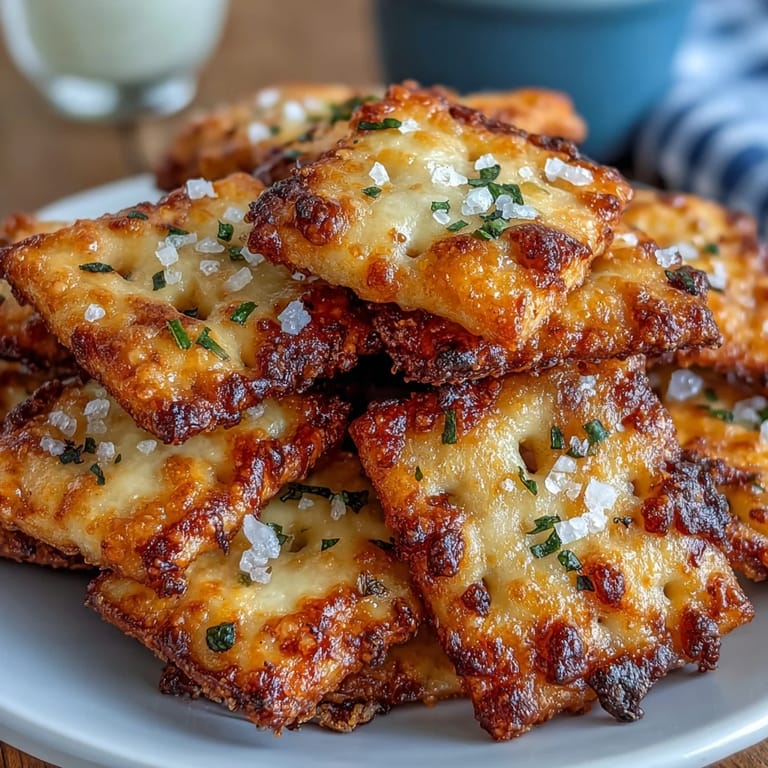
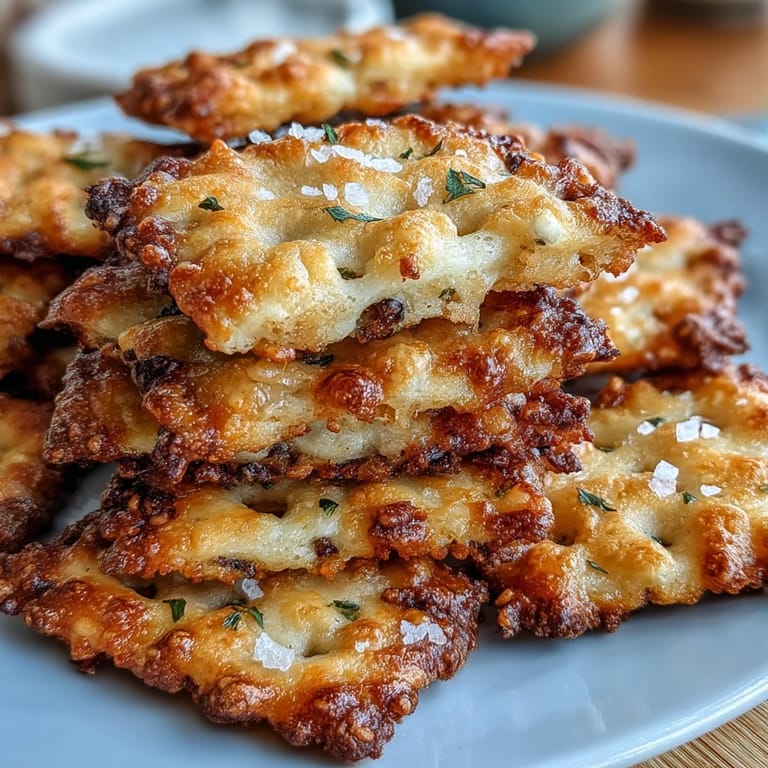
 My sourdough starter had been sitting neglected in the fridge for weeks, and I was tired of throwing away perfectly good discard. One afternoon, while organizing the pantry and mentally planning snacks for a dinner party, it hit me: why not turn that tangy starter into something crispy and indulgent? The result was these garlic Parmesan crackers that taste like they came from a fancy bakery, except they're made from ingredients already on hand. Now I actually look forward to feeding my starter just so I have an excuse to make another batch.
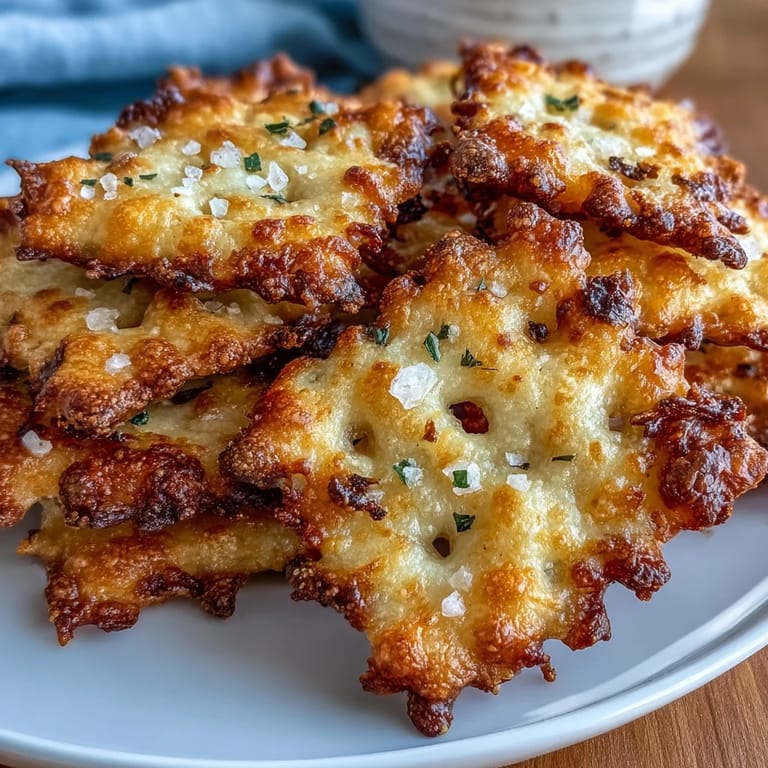
I brought a board of these to a casual dinner party last spring, nestled between some aged cheddar and prosciutto, and watched them disappear within minutes. One guest asked if I'd ordered them from somewhere fancy, and I couldn't help smiling as I admitted they came from my kitchen. That moment made me realize these crackers weren't just a way to use up sourdough discard—they'd become something I genuinely loved making for people.
Ingredients
- All-purpose flour: The foundation that keeps these crackers from being too dense; make sure it's measured by weight for accuracy.
- Sharp cheddar cheese, finely grated: Don't skip the sharpness—it's what gives these crackers their distinctive bite and keeps them interesting.
- Parmesan cheese, finely grated: This adds depth and a subtle nuttiness that sourdough discard amplifies beautifully.
- Unsalted butter, cold and cubed: Cold butter is essential for flakiness; if it warms up, your crackers will be dense instead of crisp.
- Sourdough discard (unfed): This is the magic ingredient that brings tangy complexity without requiring a full recipe adjustment.
- Garlic powder and onion powder: These carry the flavor throughout without adding moisture that would soften the crackers.
- Fine sea salt and freshly ground black pepper: Season generously here because the dough absorbs flavors differently than you'd expect.
Tired of Takeout? 🥡
Get 10 meals you can make faster than delivery arrives. Seriously.
One email. No spam. Unsubscribe anytime.
Instructions
- Build the base:
- Pulse your flour, both cheeses, cold butter cubes, and dry seasonings together until the mixture looks like breadcrumbs with some pea-sized butter bits still visible. This texture is your insurance policy for crispy crackers.
- Bring it together:
- Add the sourdough discard and pulse gently until the dough just barely holds together—you want it shaggy at this point, not overworked. Stop pulsing the moment you see no dry flour.
- Develop the dough:
- Turn everything onto a lightly floured surface and knead by hand just until it becomes smooth and cohesive, maybe eight or ten gentle folds. You're looking for a dough that feels slightly tacky but manageable.
- Chill for structure:
- Shape into a rectangle, wrap tightly in plastic wrap, and refrigerate for 30 to 60 minutes if you have the time. This resting period helps the gluten relax and makes rolling infinitely easier.
- Prepare to bake:
- Preheat your oven to 350°F and line two baking sheets with parchment paper while you work. The oven needs to come up to temperature gradually while you're rolling and cutting.
- Roll thin and cut:
- On a lightly floured surface, roll the dough to about 1/8 inch thick—imagine the thickness of a playing card. Use a pastry wheel or sharp knife to cut into 1-inch squares, and don't worry if the edges are slightly ragged.
- Create the holes:
- Place each square on your prepared baking sheets with a little space between them, then use a skewer or toothpick to poke a single hole in the center of each cracker. This hole is both traditional and functional—it prevents them from puffing up too much.
- Top with care:
- Mix your Parmesan and garlic powder in a small bowl, then lightly brush each cracker with water using a pastry brush. Sprinkle the cheese mixture and flaky sea salt over top before they go in the oven.
- Bake until golden:
- Bake for 16 to 18 minutes, rotating your baking sheets halfway through so they brown evenly. You'll know they're done when the edges are deeply golden and they feel completely crisp to the touch.
- Cool completely:
- Let the crackers cool on wire racks for at least 15 minutes before eating—they continue to crisp up as they cool and will shatter satisfyingly when you bite into them.
 Save to Pinterest
 There's something almost therapeutic about poking holes in dozens of tiny squares while your oven preheats, especially when you know the payoff will be crackers that taste better than anything you could buy. It's one of those recipes where the modest effort yields something that feels genuinely luxurious.
The Sourdough Advantage
Using sourdough discard here is brilliantly practical, but it also transforms the flavor in unexpected ways. The sourdough brings a subtle tang that makes the sharp cheddar sing, creating layers of flavor that simple cheese crackers never achieve. I've tested these with commercial yeast substitutes out of curiosity, and while they work, they're somehow flatter and less interesting—the sourdough is worth keeping around just for this.
Rolling and Cutting Strategy
The thickness is where many crackers go wrong, and I learned this through trial and error. Roll them too thick and they're more like cheese-studded shortbread; too thin and they brown unevenly and taste almost papery. That 1/8-inch mark is the sweet spot, and using a pastry wheel instead of a knife gives you cleaner, more consistent squares that bake more evenly.
Storage and Serving Wisdom
These crackers are most crispy for the first two days, but they stay perfectly pleasant in an airtight container for up to five days if you keep them sealed properly. They're equally at home alongside cured meats and good cheese on a snack board as they are scattered across a vegetable platter, and they're sturdy enough to stand up to your favorite dips without shattering.
- Store them in a glass container or metal tin rather than plastic to maintain their crispness longer.
- If they ever soften (which happens in humid kitchens), pop them back in a 300°F oven for three minutes to restore the crunch.
- Double the recipe without hesitation—they disappear faster than you'd expect, and you can freeze the baked crackers for up to two weeks.
 Save to Pinterest
 These crackers remind me that the best recipes often come from problem-solving in the kitchen—finding ways to use what you have on hand while creating something that tastes deliberately made. They've become the thing I reach for whenever I need a quick edible gift or a way to turn a simple gathering into something memorable.
Recipe Help Center
- → What gives these crackers their tangy flavor?
The sourdough discard in the dough provides a mild tanginess, balancing the rich sharpness of cheddar and Parmesan cheeses.
- → Can I make these crackers gluten-free?
Yes, swapping all-purpose flour for a cup-for-cup gluten-free flour blend allows for a gluten-free version with similar texture.
- → How should I store the crackers to keep them crisp?
Store the cooled crackers in an airtight container at room temperature for up to five days to maintain crispness.
- → Can I add herbs to enhance flavor?
Adding dried Italian herbs to the dough adds aromatic, savory notes without overpowering the garlic and cheese.
- → What tools are needed for preparation?
A food processor speeds up mixing, and a rolling pin with a pastry wheel or sharp knife helps cut even cracker squares.